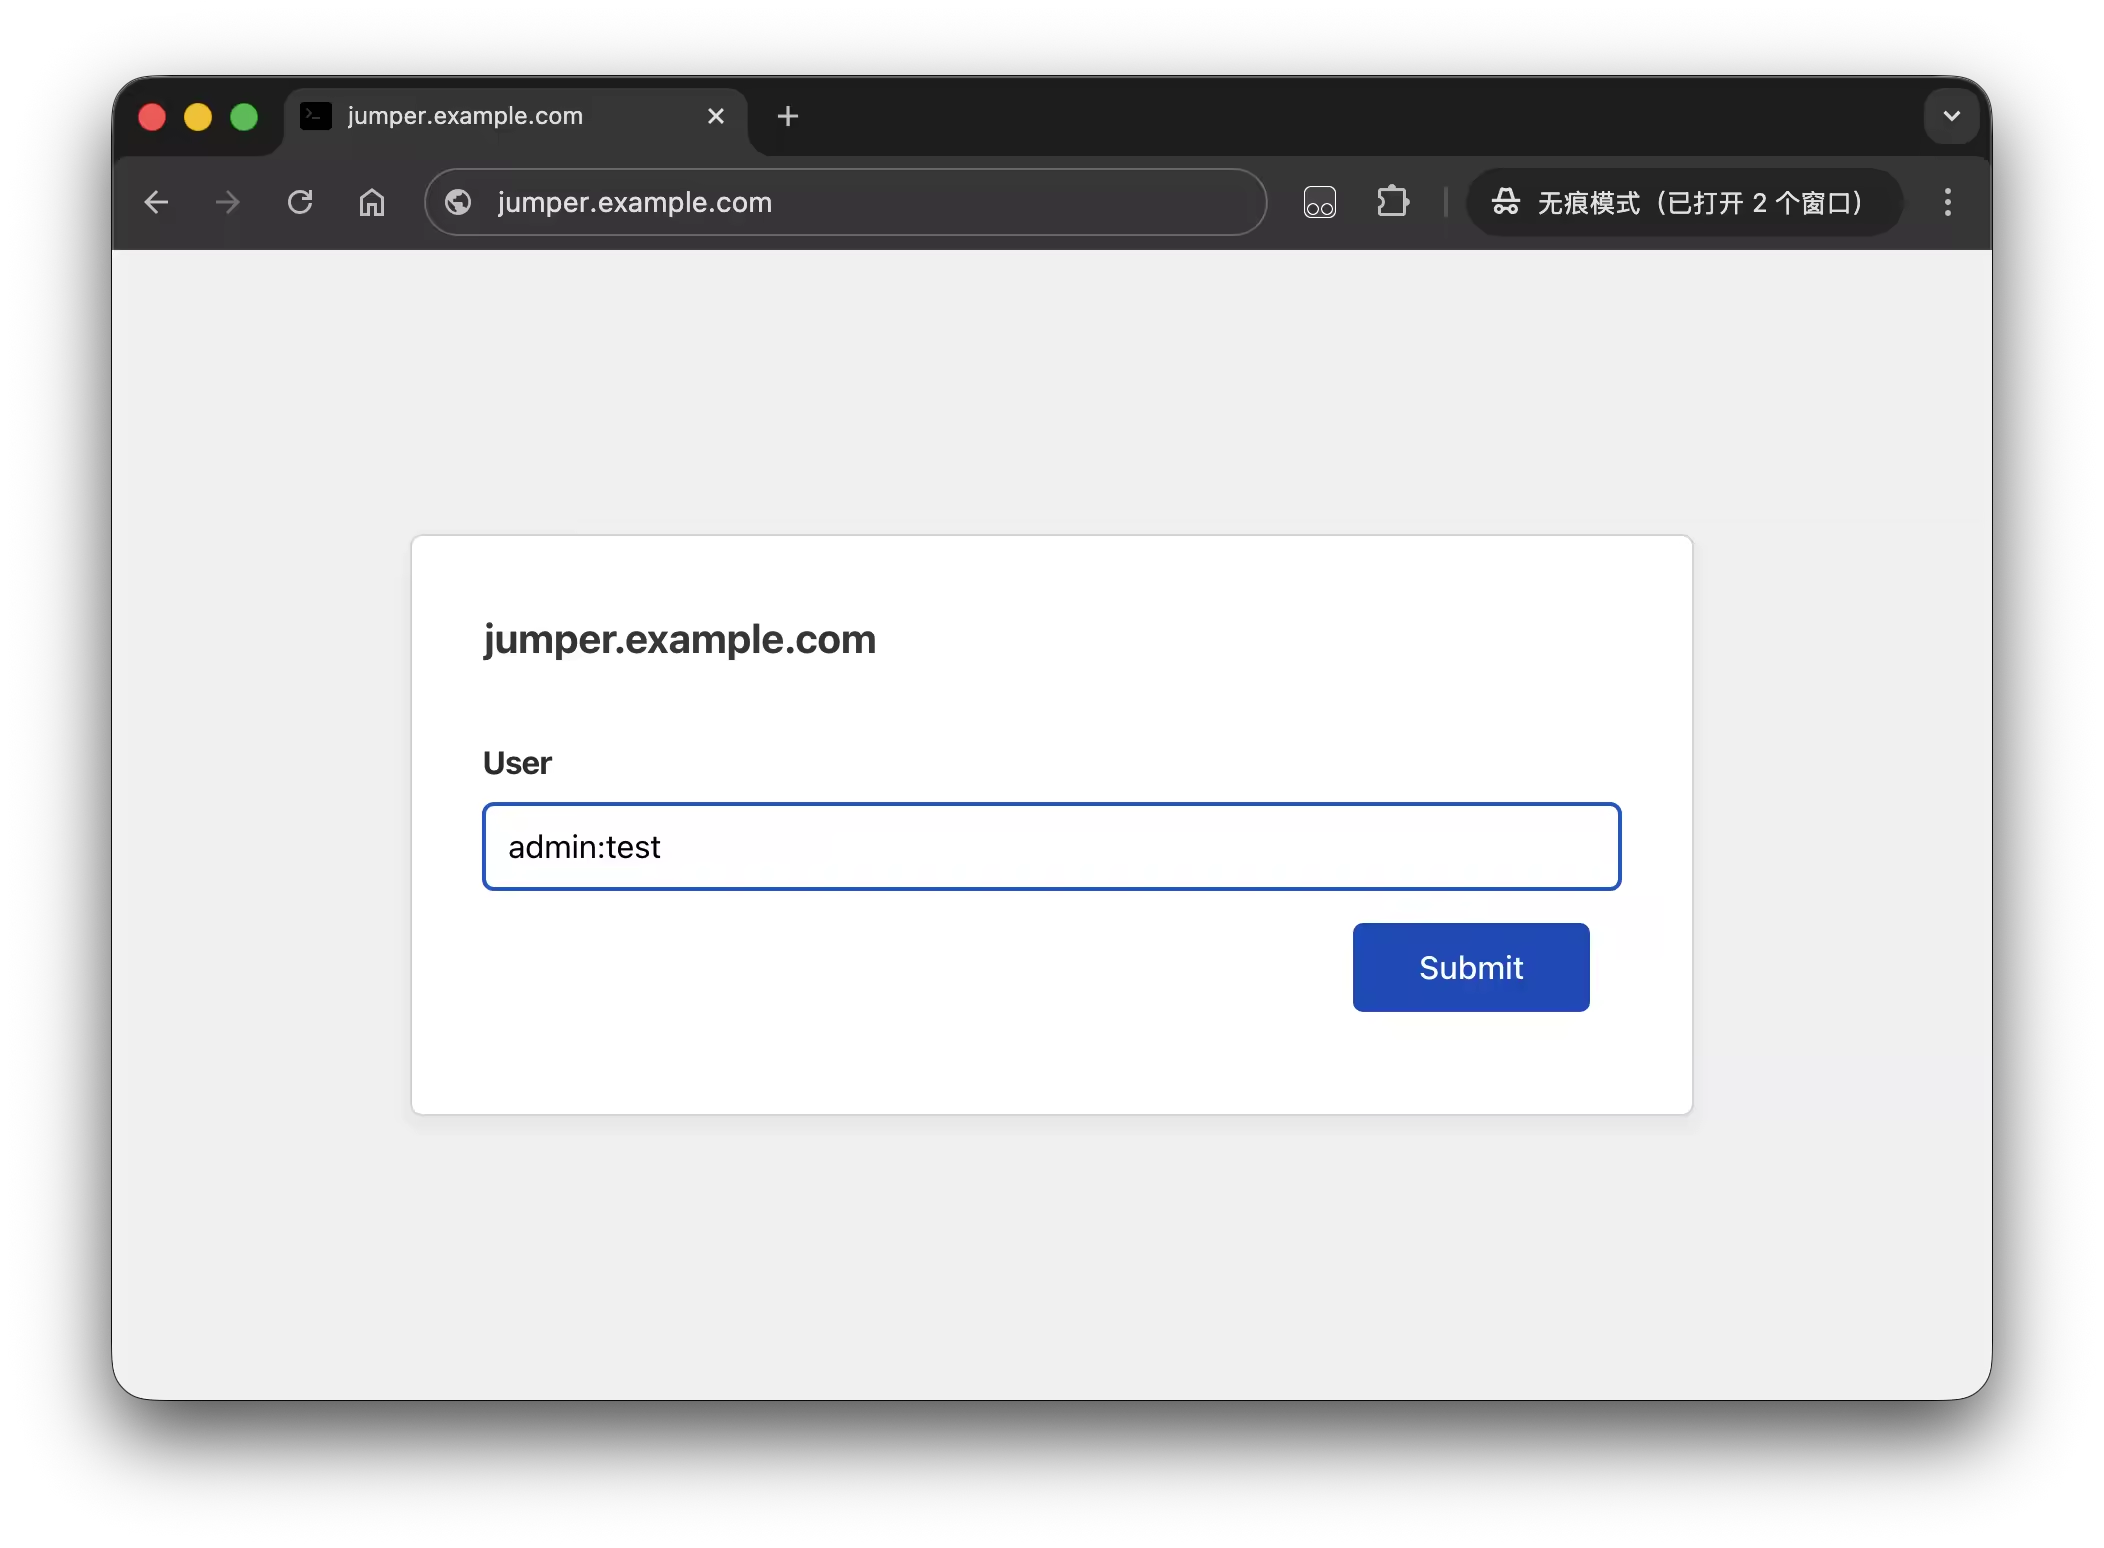
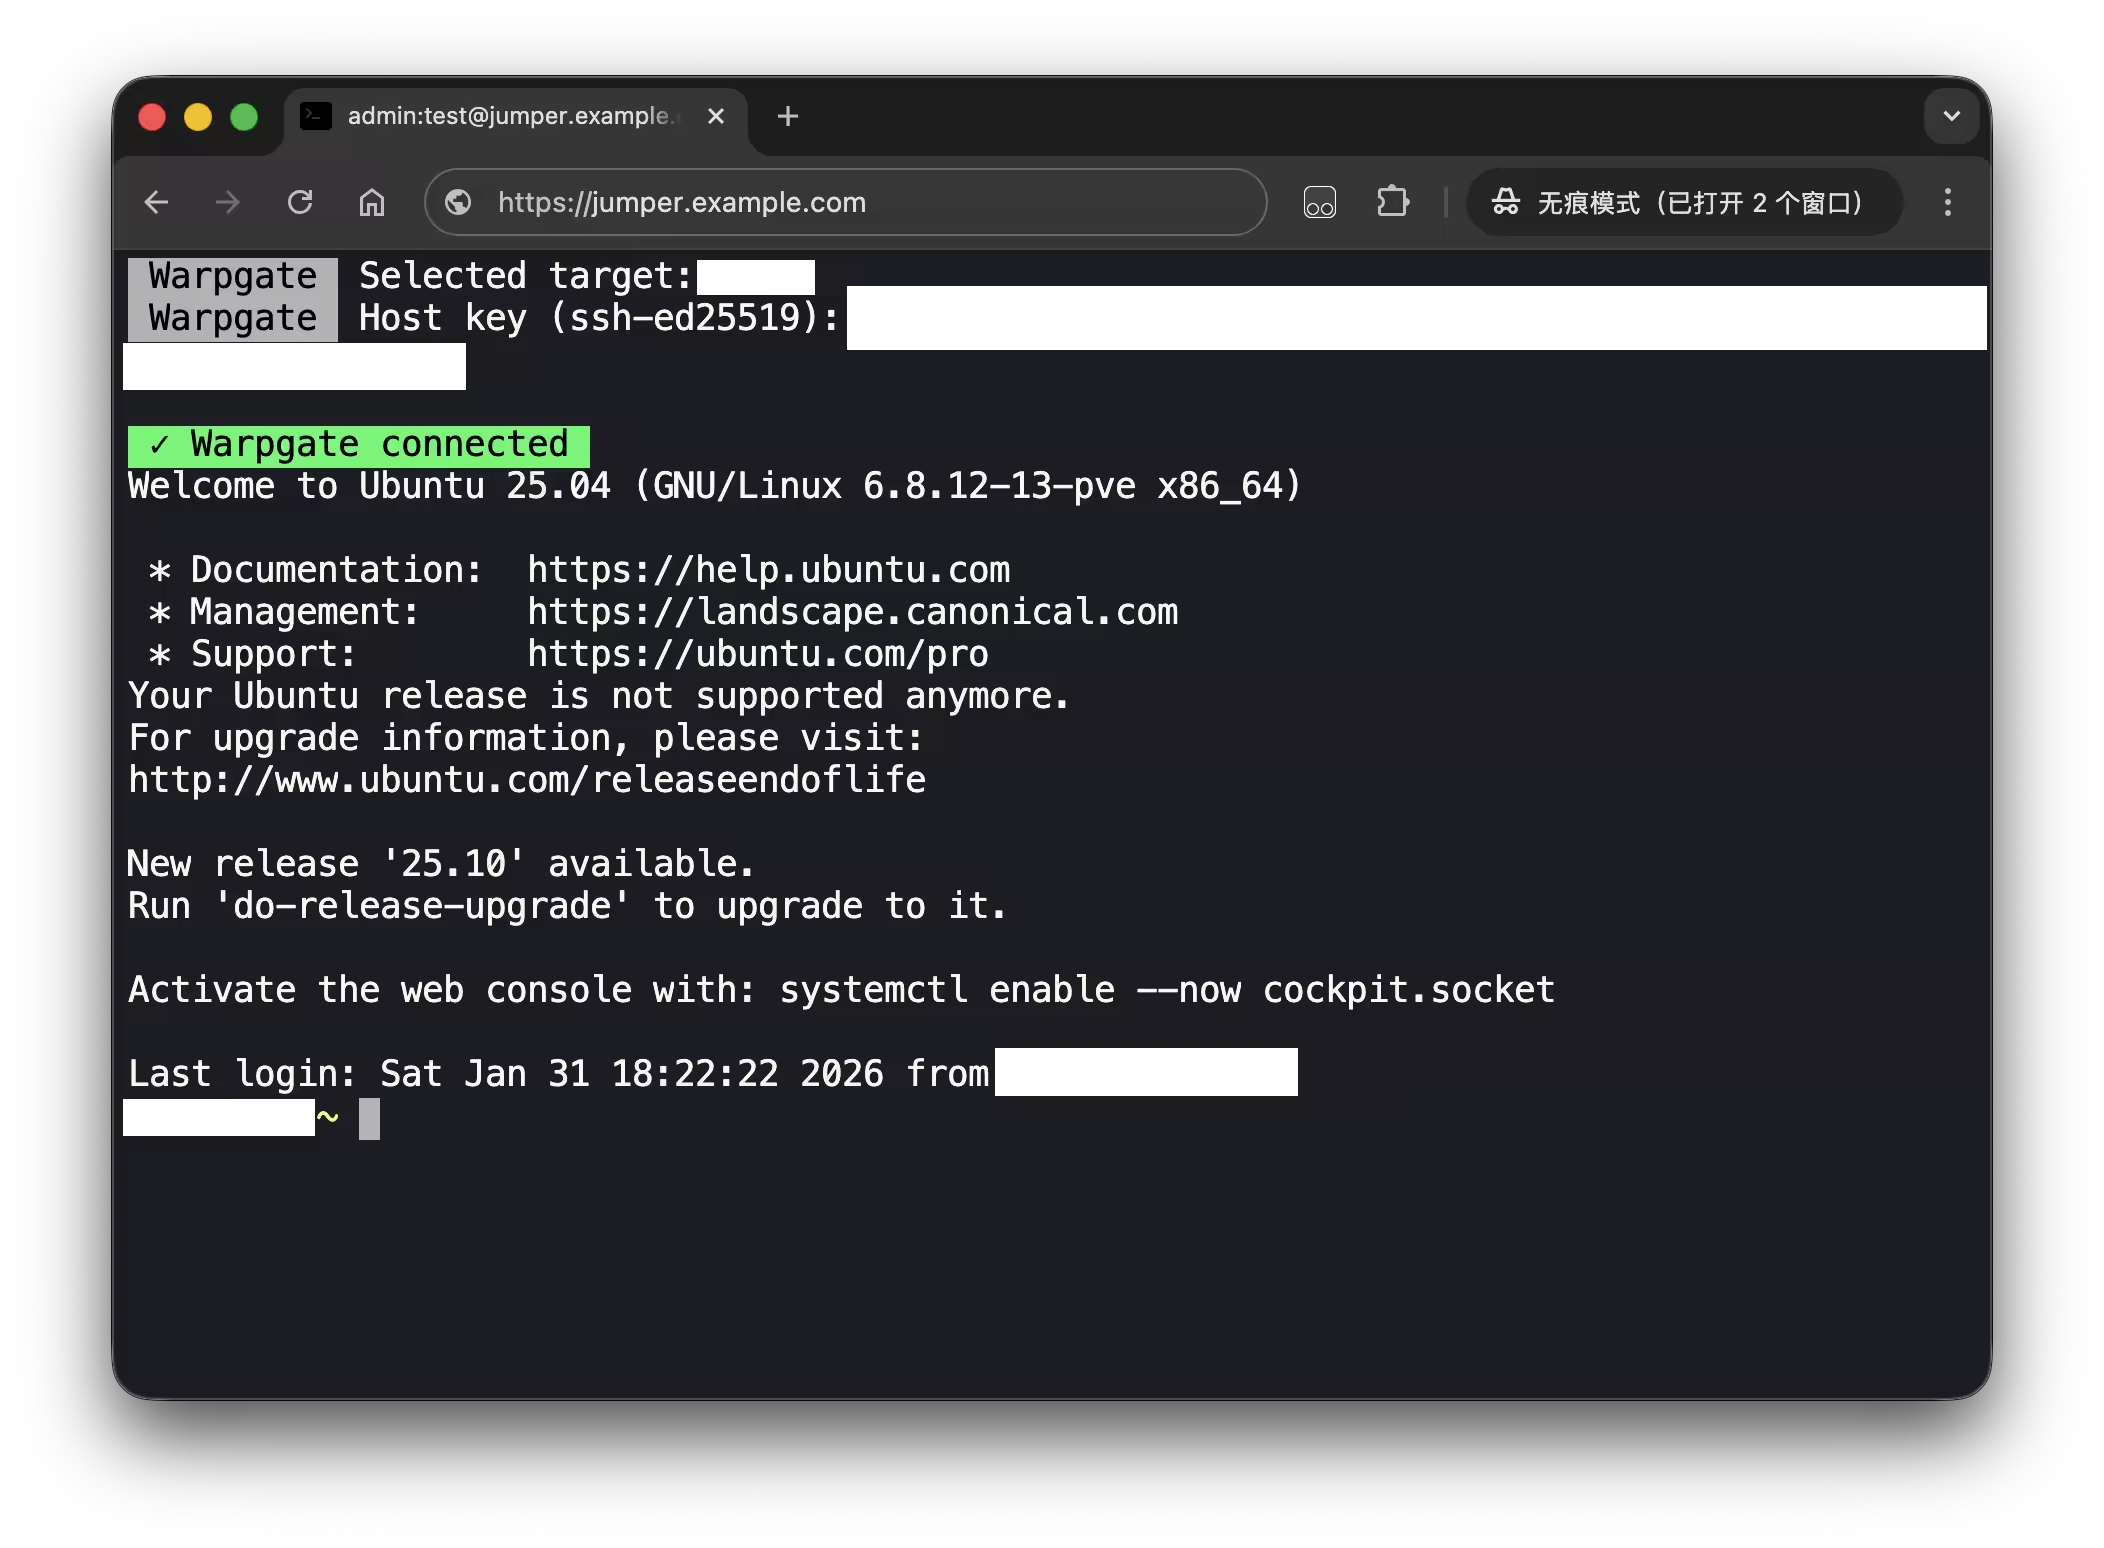
HomeLab 中经常有需要远程登录到宿主机、VPS、虚拟机进行配置和维护的使用场景,当机器比较多的时候管理会非常麻烦;另外,在公司时偶尔需要维护一下服务,但是公司不允许使用 VPN,无法直接连接到 HomeLab,需要通过 Web 端访问,因此需要一个跳板机来统一管理和访问 HomeLab 中的各类机器
传统的跳板机如 JumpServer 等堡垒机,功能强大但配置复杂,对于 HomeLab 环境有点头重脚轻了,因此选择使用 Warpgate 作为轻量级跳板机的解决方案
Warpgate 简介
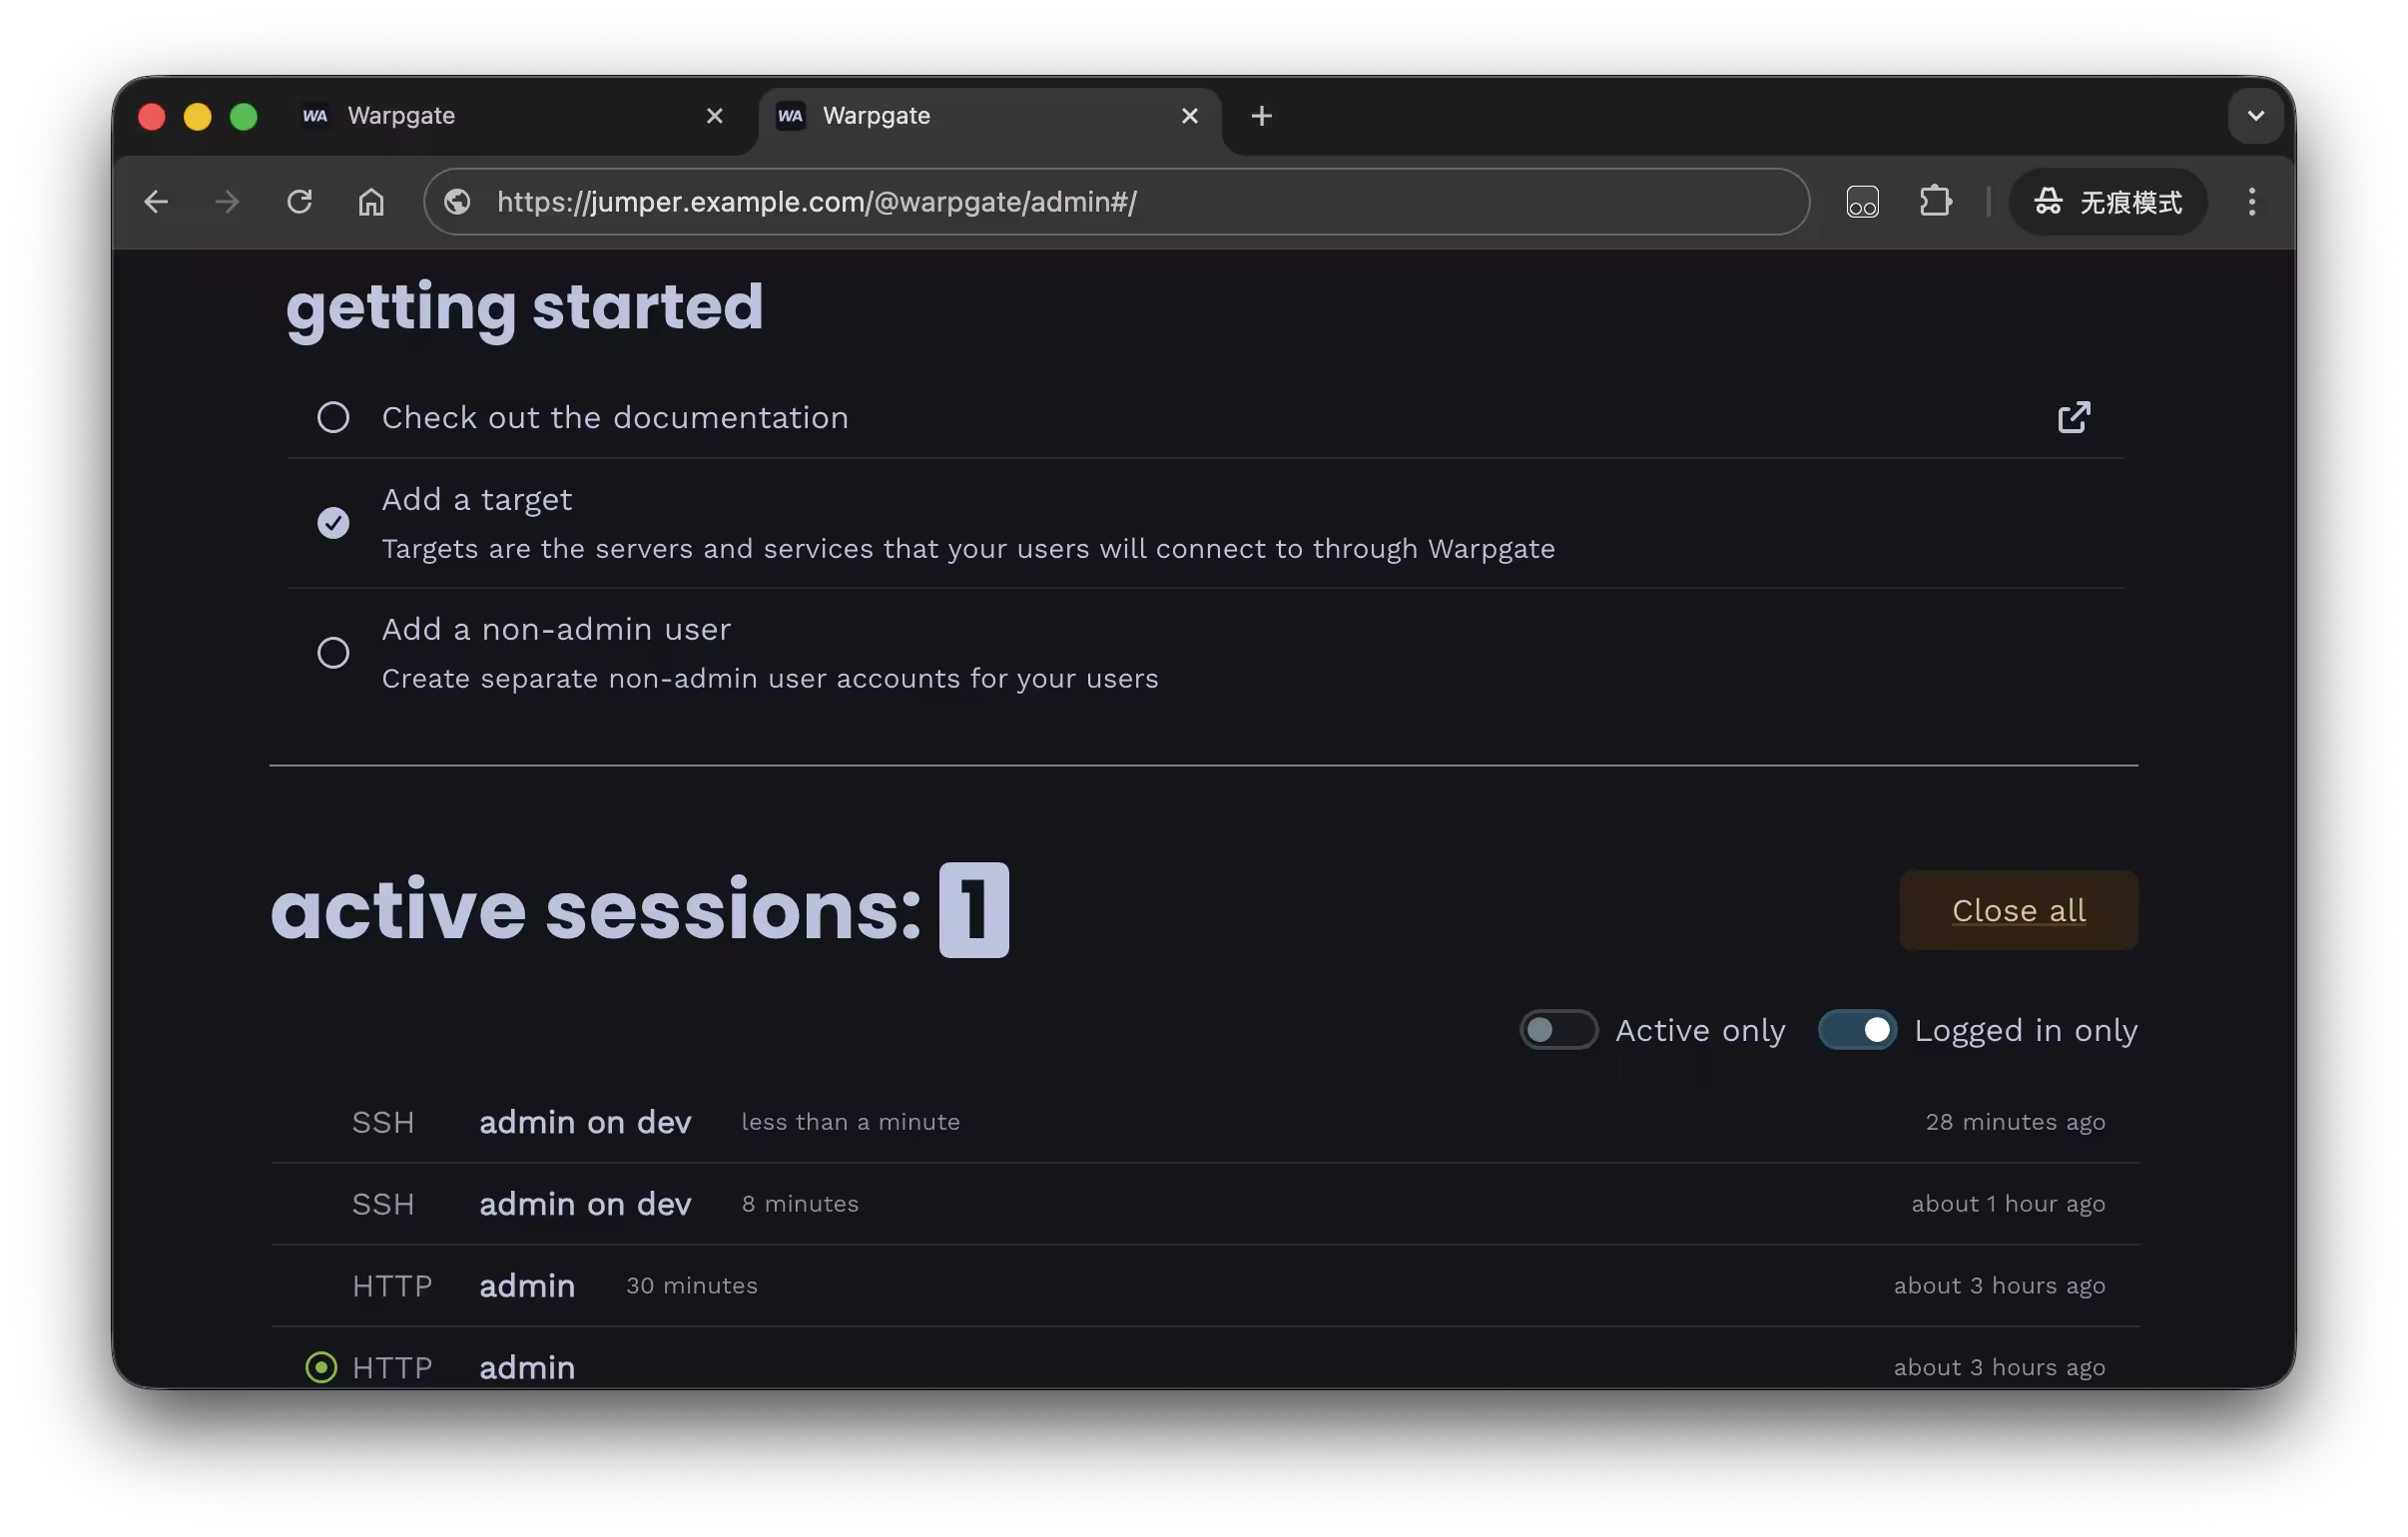
Warpgate 是一个开源的轻量级跳板机,支持代理 SSH/HTTPS/MySQL/Postgres 等多种协议,并且支持 SSO 和 RBAC 认证方式,刚好满足 HomeLab 的需求
部署 Warpgate
初始化配置
使用 Docker Compose 部署 Warpgate,方便管理和维护
- 创建 data 目录,用于存放 Warpgate 的配置和数据
data 目录权限设置为 755,避免容器无修改权限,实际使用中可以根据需要调整
mkdir -p ./data
chmod -R 755 ./data
- 初始化 Warpgate 配置
通过 setup 命令初始化配置文件,会在 data 目录下生成证书、配置文件等
docker run --rm -it -v ./data:/data ghcr.io/warp-tech/warpgate setup
会输出配置文件内容:
03:52:34  INFO Welcome to Warpgate v0.20.0-modified
03:52:34  INFO Let's do some basic setup first.
03:52:34  INFO The new config will be written in /data/warpgate.yaml.
✔ Do you want to record user sessions? · yes
✔ Set a password for the Warpgate admin user · ********
03:52:44  INFO Generated configuration:
sso_providers: []
recordings:
  enable: true
  path: /data/recordings
external_host: null
database_url: sqlite:/data/db
ssh:
  enable: true
  listen: '[::]:2222'
  external_port: null
  keys: /data/ssh-keys
  host_key_verification: prompt
  inactivity_timeout: 5m
  keepalive_interval: null
http:
  listen: '[::]:8888'
  external_port: null
  certificate: /data/tls.certificate.pem
  key: /data/tls.key.pem
  trust_x_forwarded_headers: false
  session_max_age: 30m
  cookie_max_age: 1day
  sni_certificates: []
mysql:
  enable: true
  listen: '[::]:33306'
  external_port: null
  certificate: /data/tls.certificate.pem
  key: /data/tls.key.pem
postgres:
  enable: true
  listen: '[::]:55432'
  external_port: null
  certificate: /data/tls.certificate.pem
  key: /data/tls.key.pem
log:
  retention: 7days
  send_to: null
  format: text

03:52:44  INFO Saved into /data/warpgate.yaml
03:52:44  INFO Using config: "/data/warpgate.yaml"
03:52:44  INFO Generating host key (Ed25519)
03:52:44  INFO Generating host key (Rsa { hash: Some(Sha512) })
03:52:44  INFO Generating client key (Ed25519)
03:52:44  INFO Generating client key (Rsa { hash: Some(Sha512) })
03:52:45  INFO Using config: "/data/warpgate.yaml"
03:52:45  INFO Generating a TLS certificate
03:52:45  INFO
03:52:45  INFO Admin user credentials:
03:52:45  INFO   * Username: admin
03:52:45  INFO   * Password: <your password>
03:52:45  INFO
03:52:45  INFO You can now start Warpgate with:
03:52:45  INFO docker run -p 8888:8888 -p 2222:2222 -it -v <your data dir>:/data ghcr.io/warp-tech/warpgate
创建数据库
Warpgate 默认使用 SQLite 数据库,同时也支持 Postgres 数据库,为了方便备份和迁移,数据存放到 Postgres 数据库中
- 创建 warpgate 数据库
CREATE DATABASE warpgate;
- 创建 warpgate 用户并授权
CREATE USER warpgate WITH PASSWORD '123456';

GRANT ALL PRIVILEGES ON DATABASE warpgate TO warpgate;
GRANT ALL PRIVILEGES ON SCHEMA public TO warpgate;
ALTER DEFAULT PRIVILEGES IN SCHEMA public GRANT ALL PRIVILEGES ON TABLES TO warpgate;
配置 Warpgate
- 修改 ./data/warpgate.yaml 配置
database_url: postgres://warpgate:123456@pg:5432/
启动
- docker-compose.yml 配置
services:
  warpgate:
    image: ghcr.io/warp-tech/warpgate
    container_name: warpgate
    hostname: warpgate
    ports:
      - 2222:2222 # ssh
      - 8888:8888 # http
    volumes:
      - ./data:/data
通过 docker-compose 启动 Warpgate
docker compose up -d
查看日志,确认启动成功
warpgate  | 31.01.2026 04:01:07  INFO warpgate::commands::run: Warpgate version=v0.20.0-modified
warpgate  | 31.01.2026 04:01:07  INFO warpgate::config: Using config: "/data/warpgate.yaml"
warpgate  | 31.01.2026 04:01:07  INFO warpgate::commands::run: Accepting HTTP connections on [::]:8888
warpgate  | 31.01.2026 04:01:07  WARN warpgate_protocol_http: Failed to construct external URL for cookie domain: ExternalHostUnknown. Cookies will be scoped to request host.
warpgate  | 31.01.2026 04:01:07  INFO warpgate::commands::run: Accepting SSH connections on [::]:2222
warpgate  | 31.01.2026 04:01:07  INFO warpgate::commands::run: Accepting MySQL connections on [::]:33306
warpgate  | 31.01.2026 04:01:07  INFO warpgate::commands::run: Accepting PostgreSQL connections on [::]:55432
配置 SSH 登录
添加目标主机
通过浏览器访问 Warpgate Web 端,地址为 https://IP地址:8888,账户是 admin, 密码是初始化时设置的密码(注意是 https 协议,http 协议会提示错误)
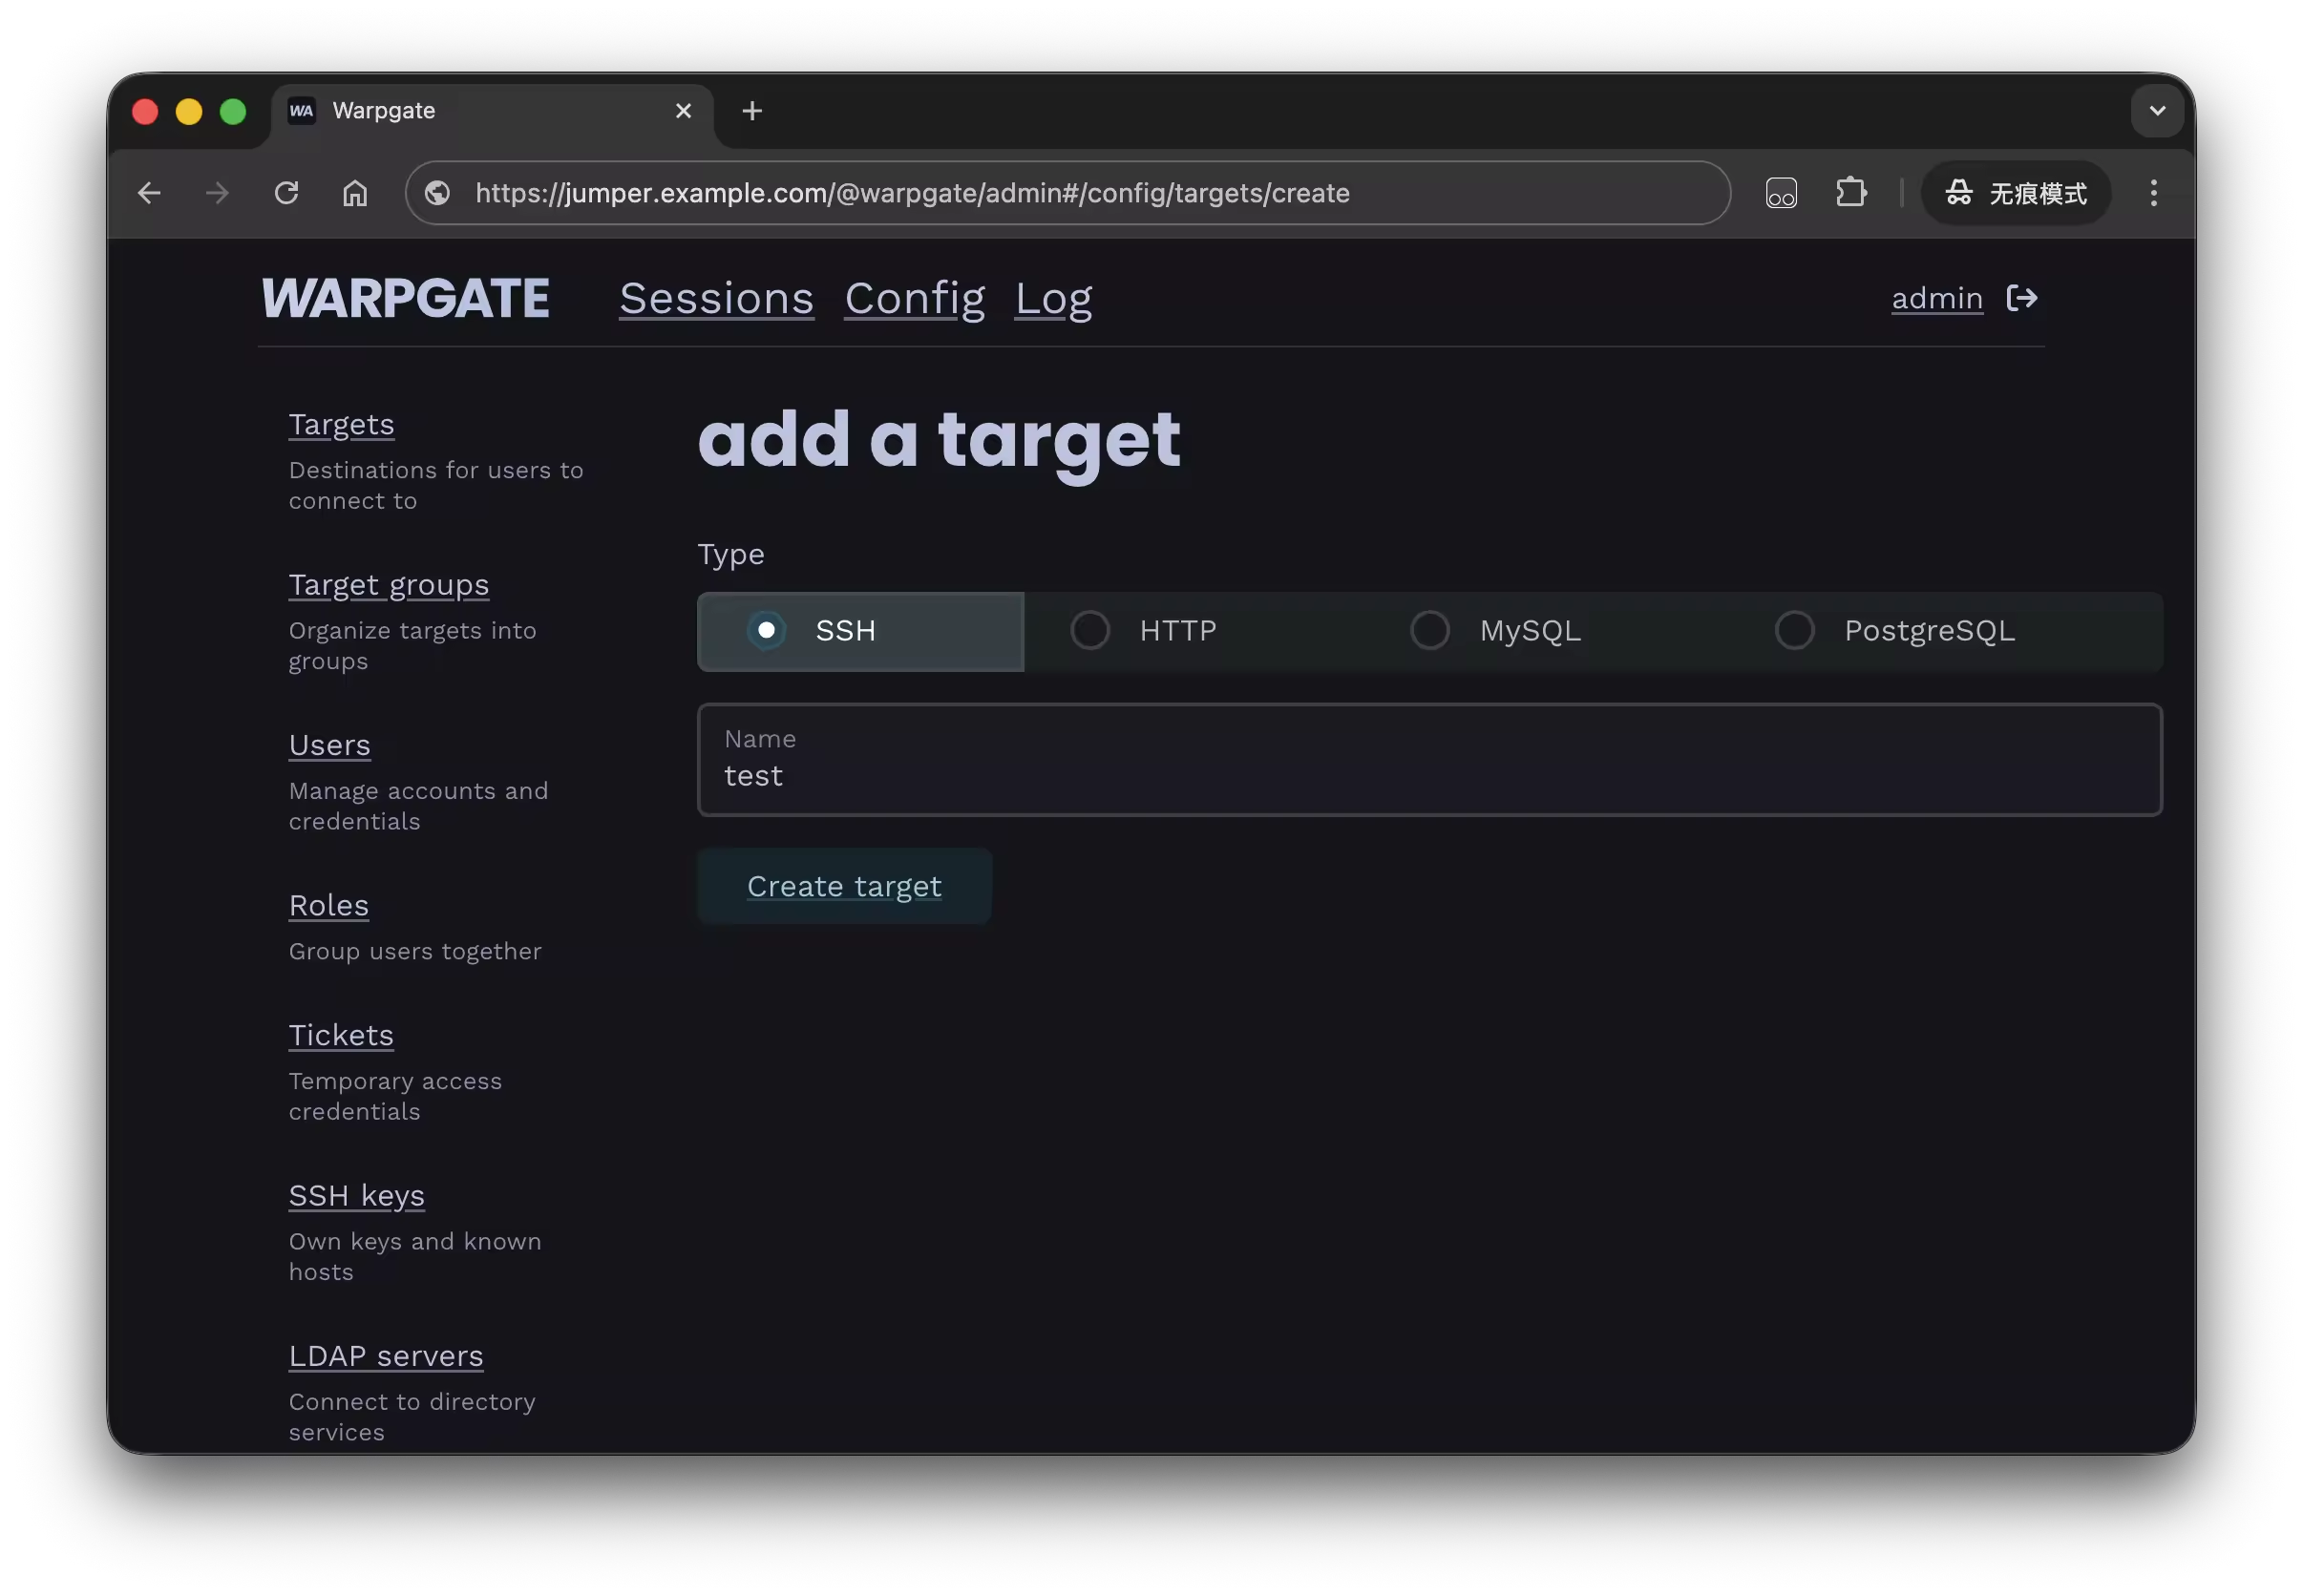
- 添加目标主机
点击 Add a target,类型为 SSH,添加名称并选择创建
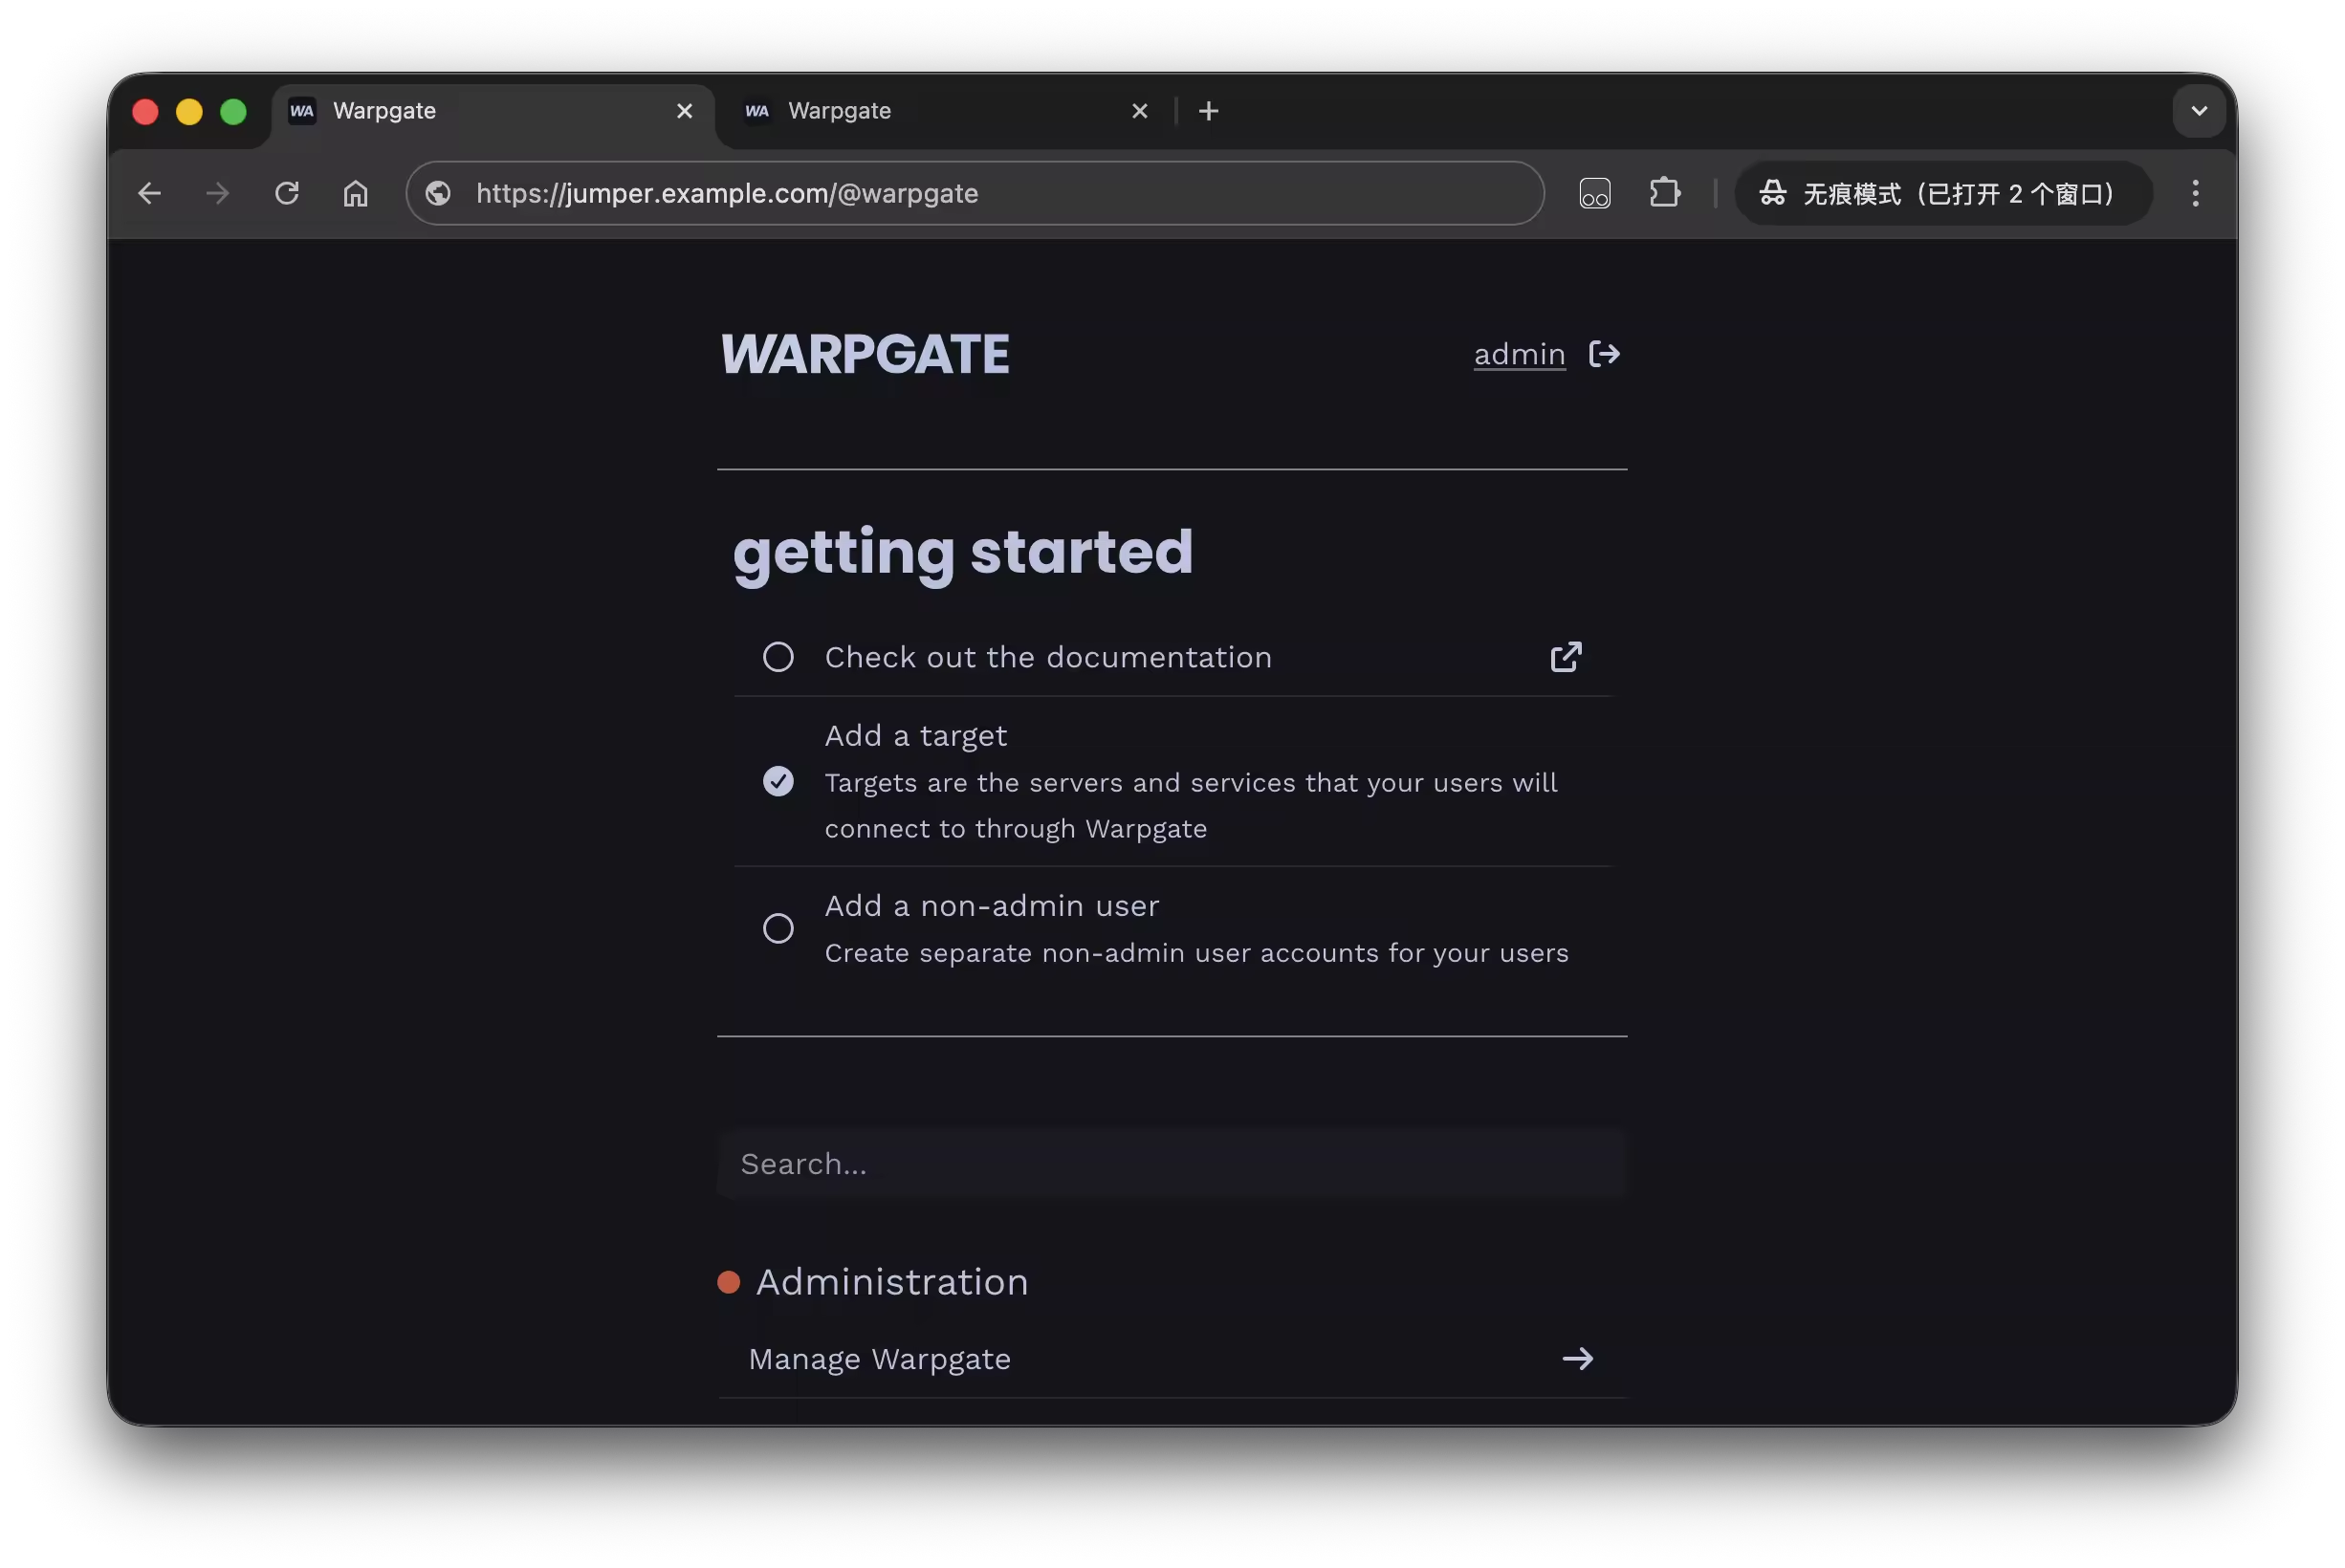
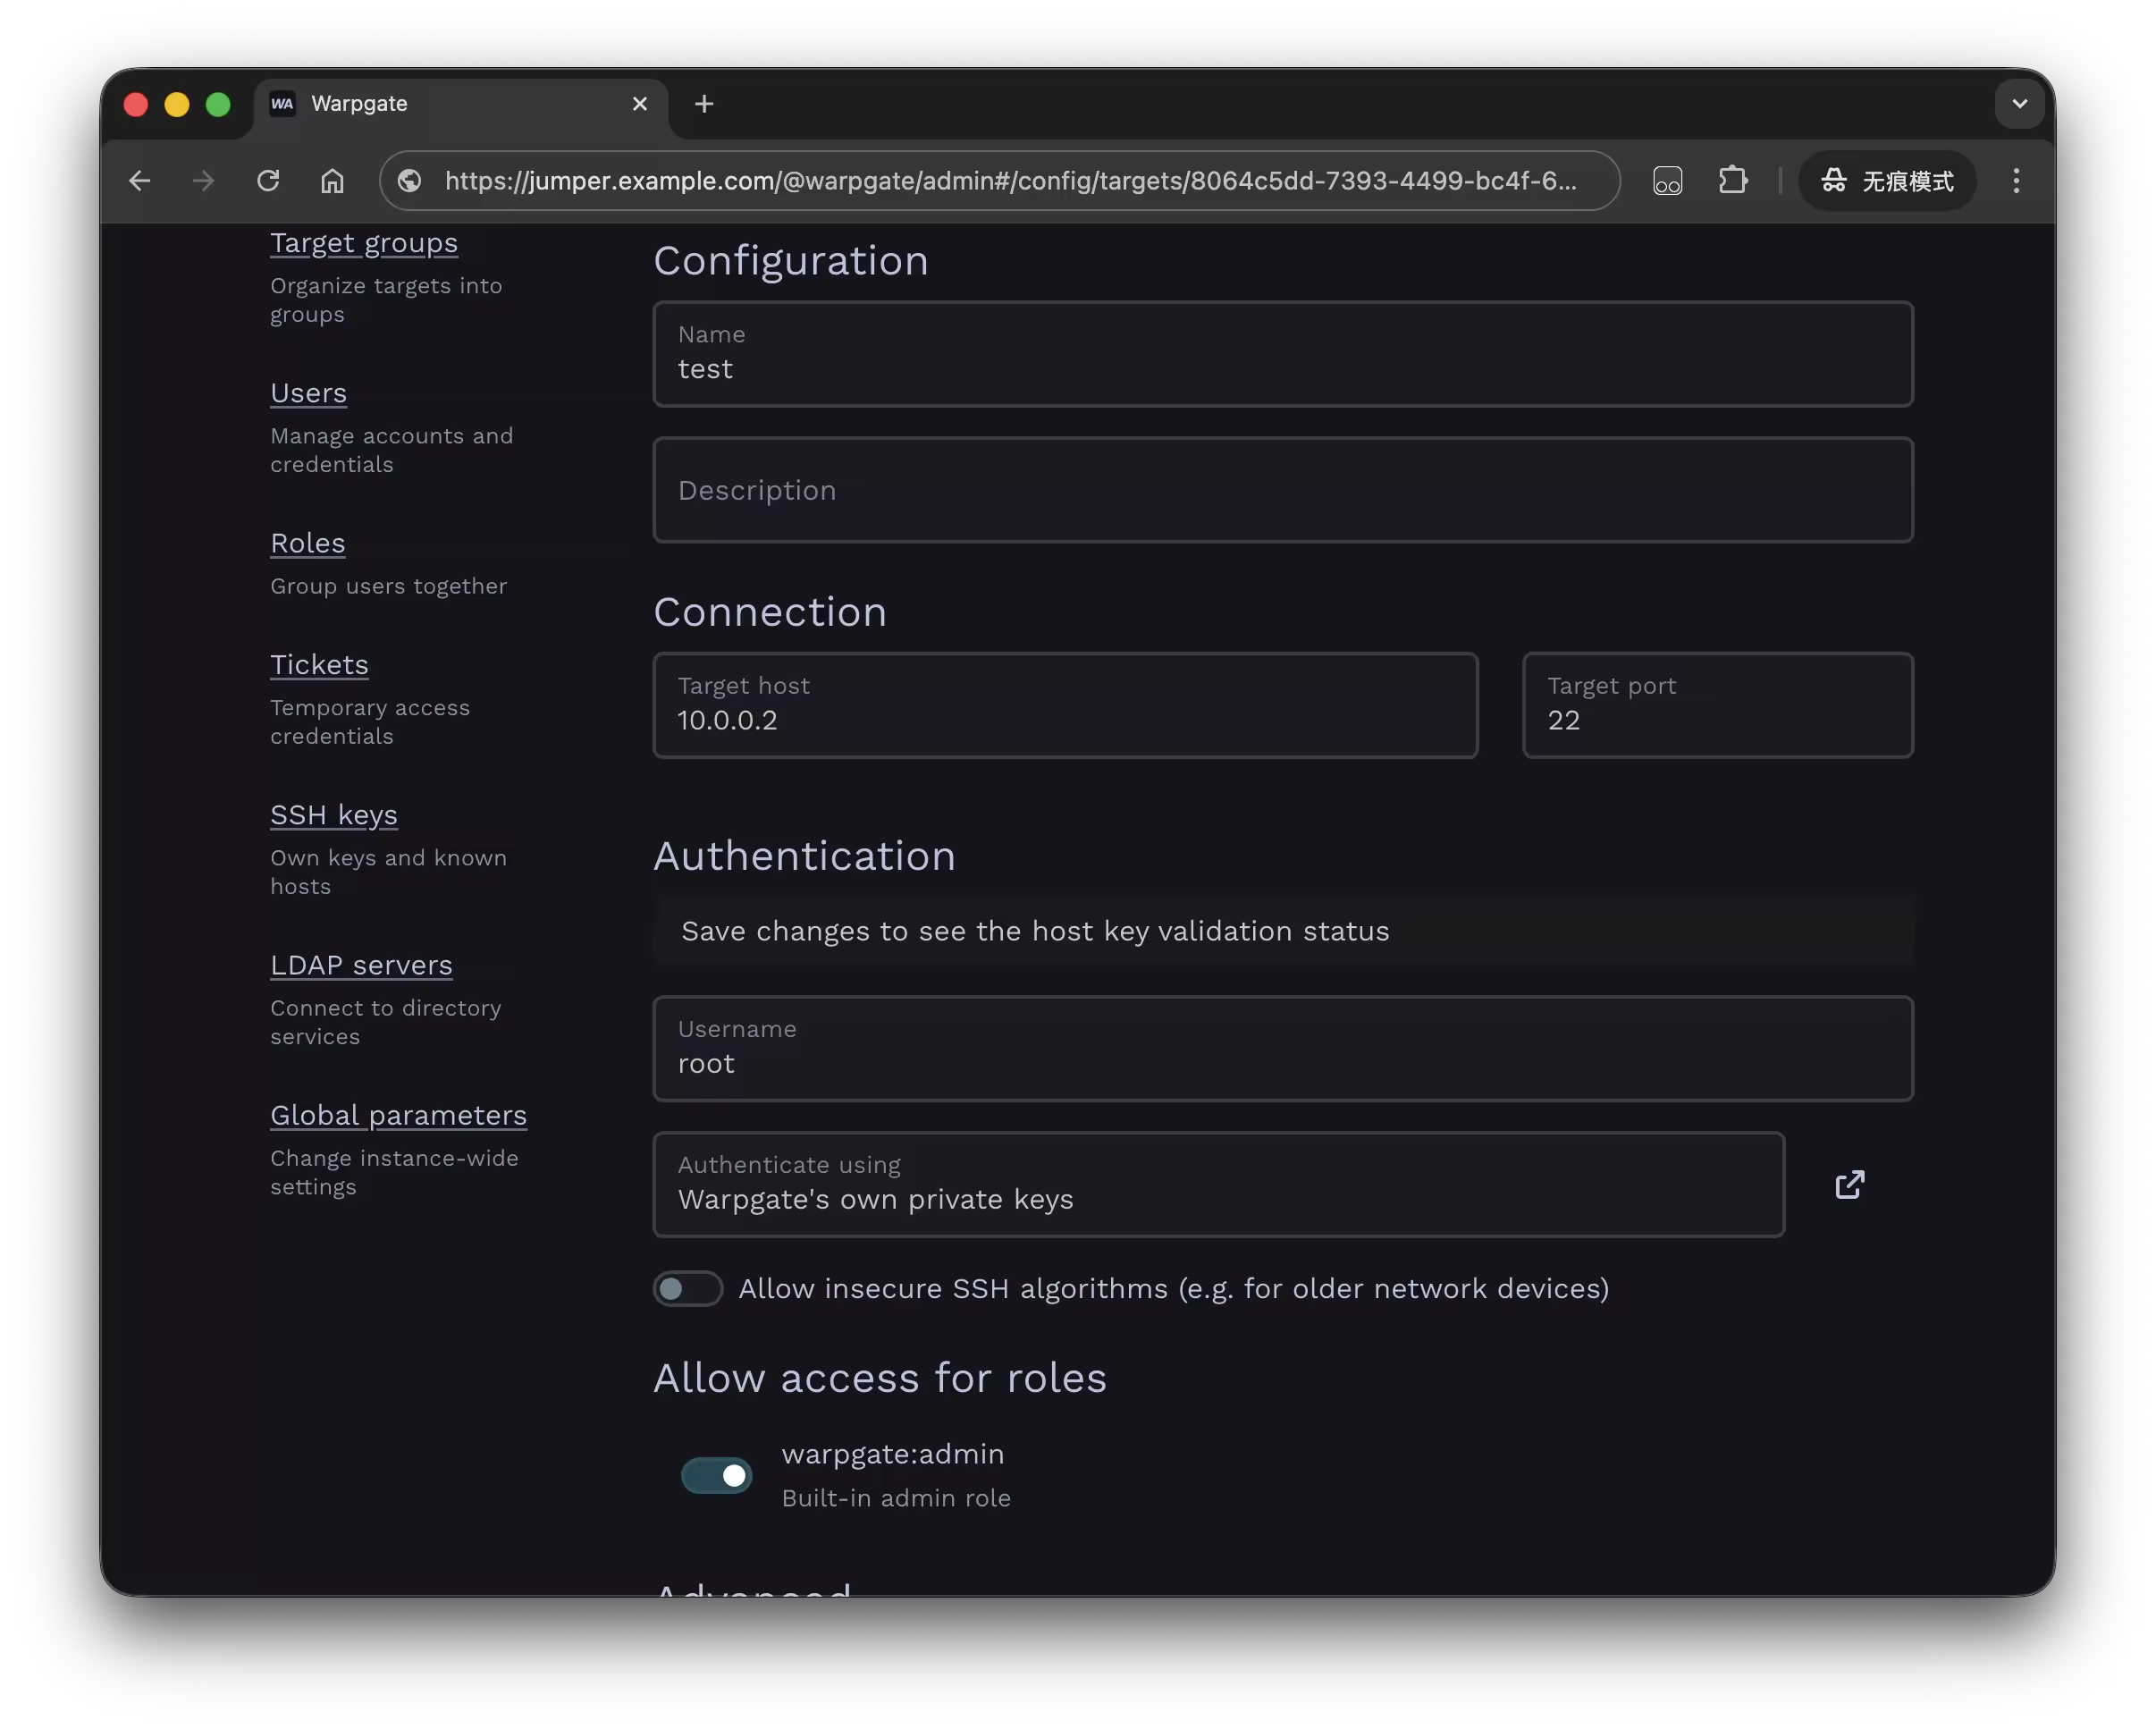
然后输入目标主机的 IP 地址、端口、用户名等,然后在 Allow access for roles 中选择 admin 角色,最后点击 Update configuration 保存配置
SSH 登录
- 将 warpgate 的公钥添加到目标机器
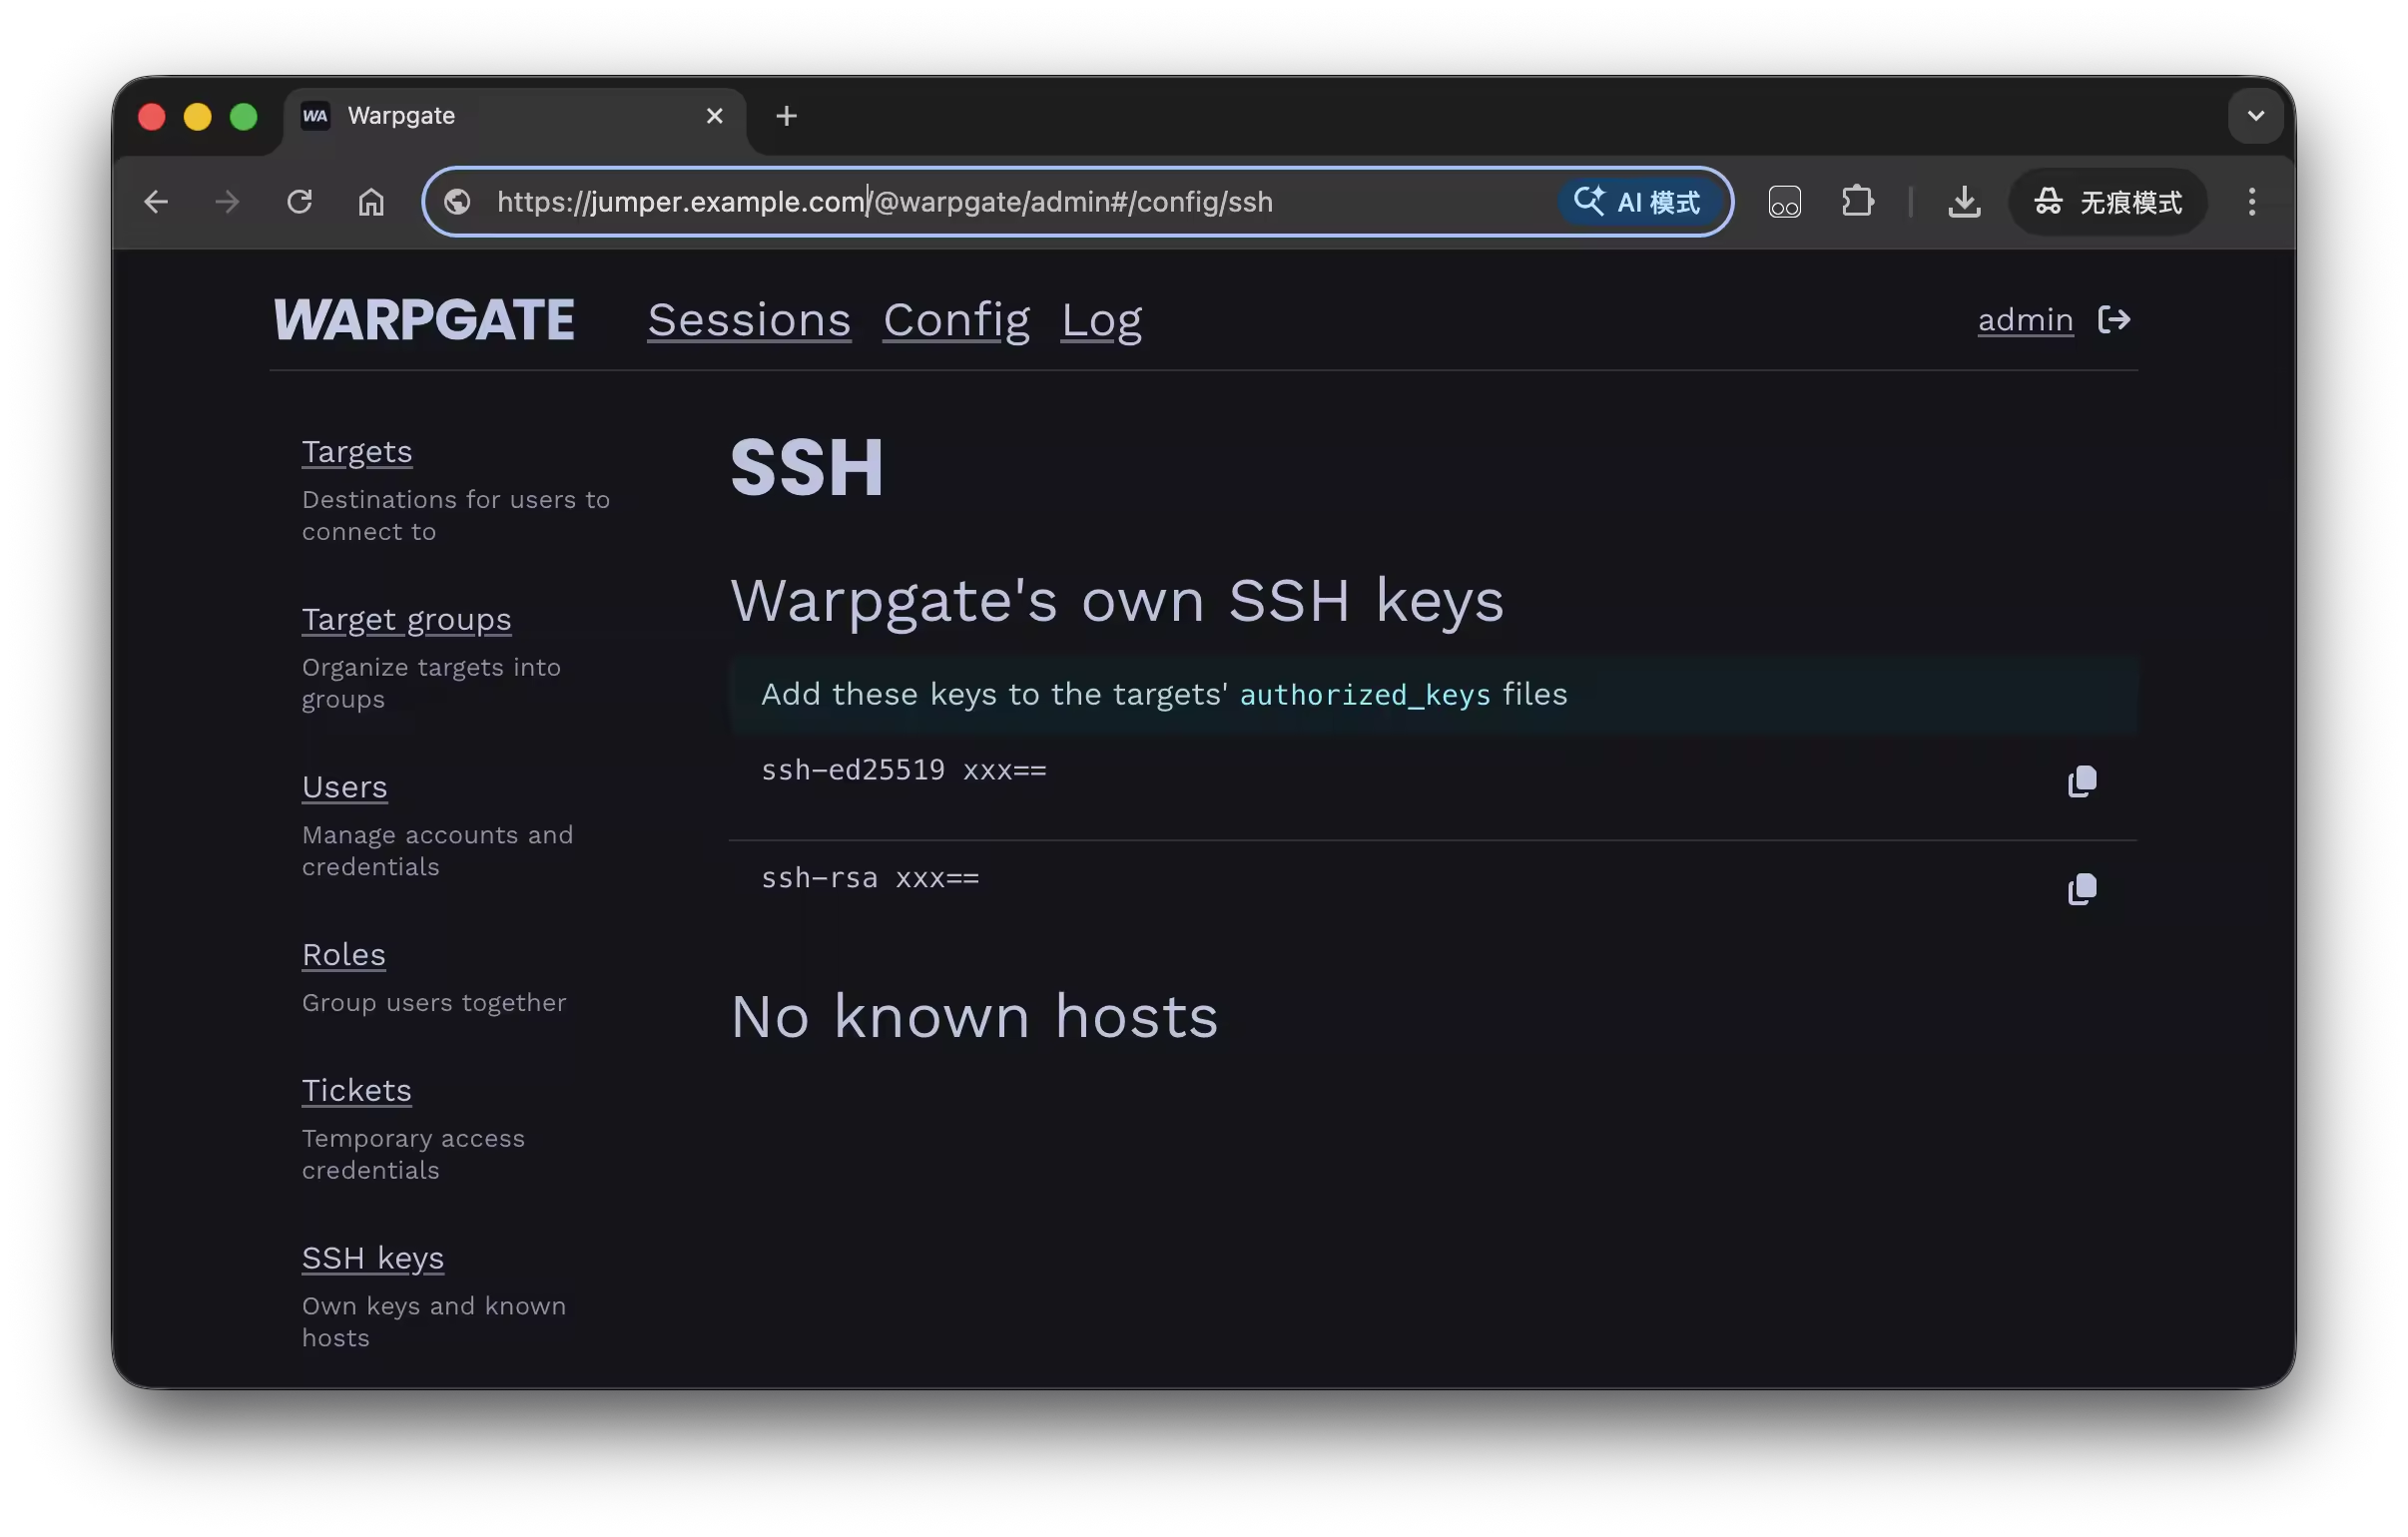
在 Config - SSH keys 中找到公钥,添加到目标机器的 ~/.ssh/authorized_keys 文件中,然后就可以通过 Warpgate 登录到这台机器了
- 通过 Warpgate 登录目标主机
点击 Access instructions,可以看到使用 Warpgate 登录目标主机的命令:
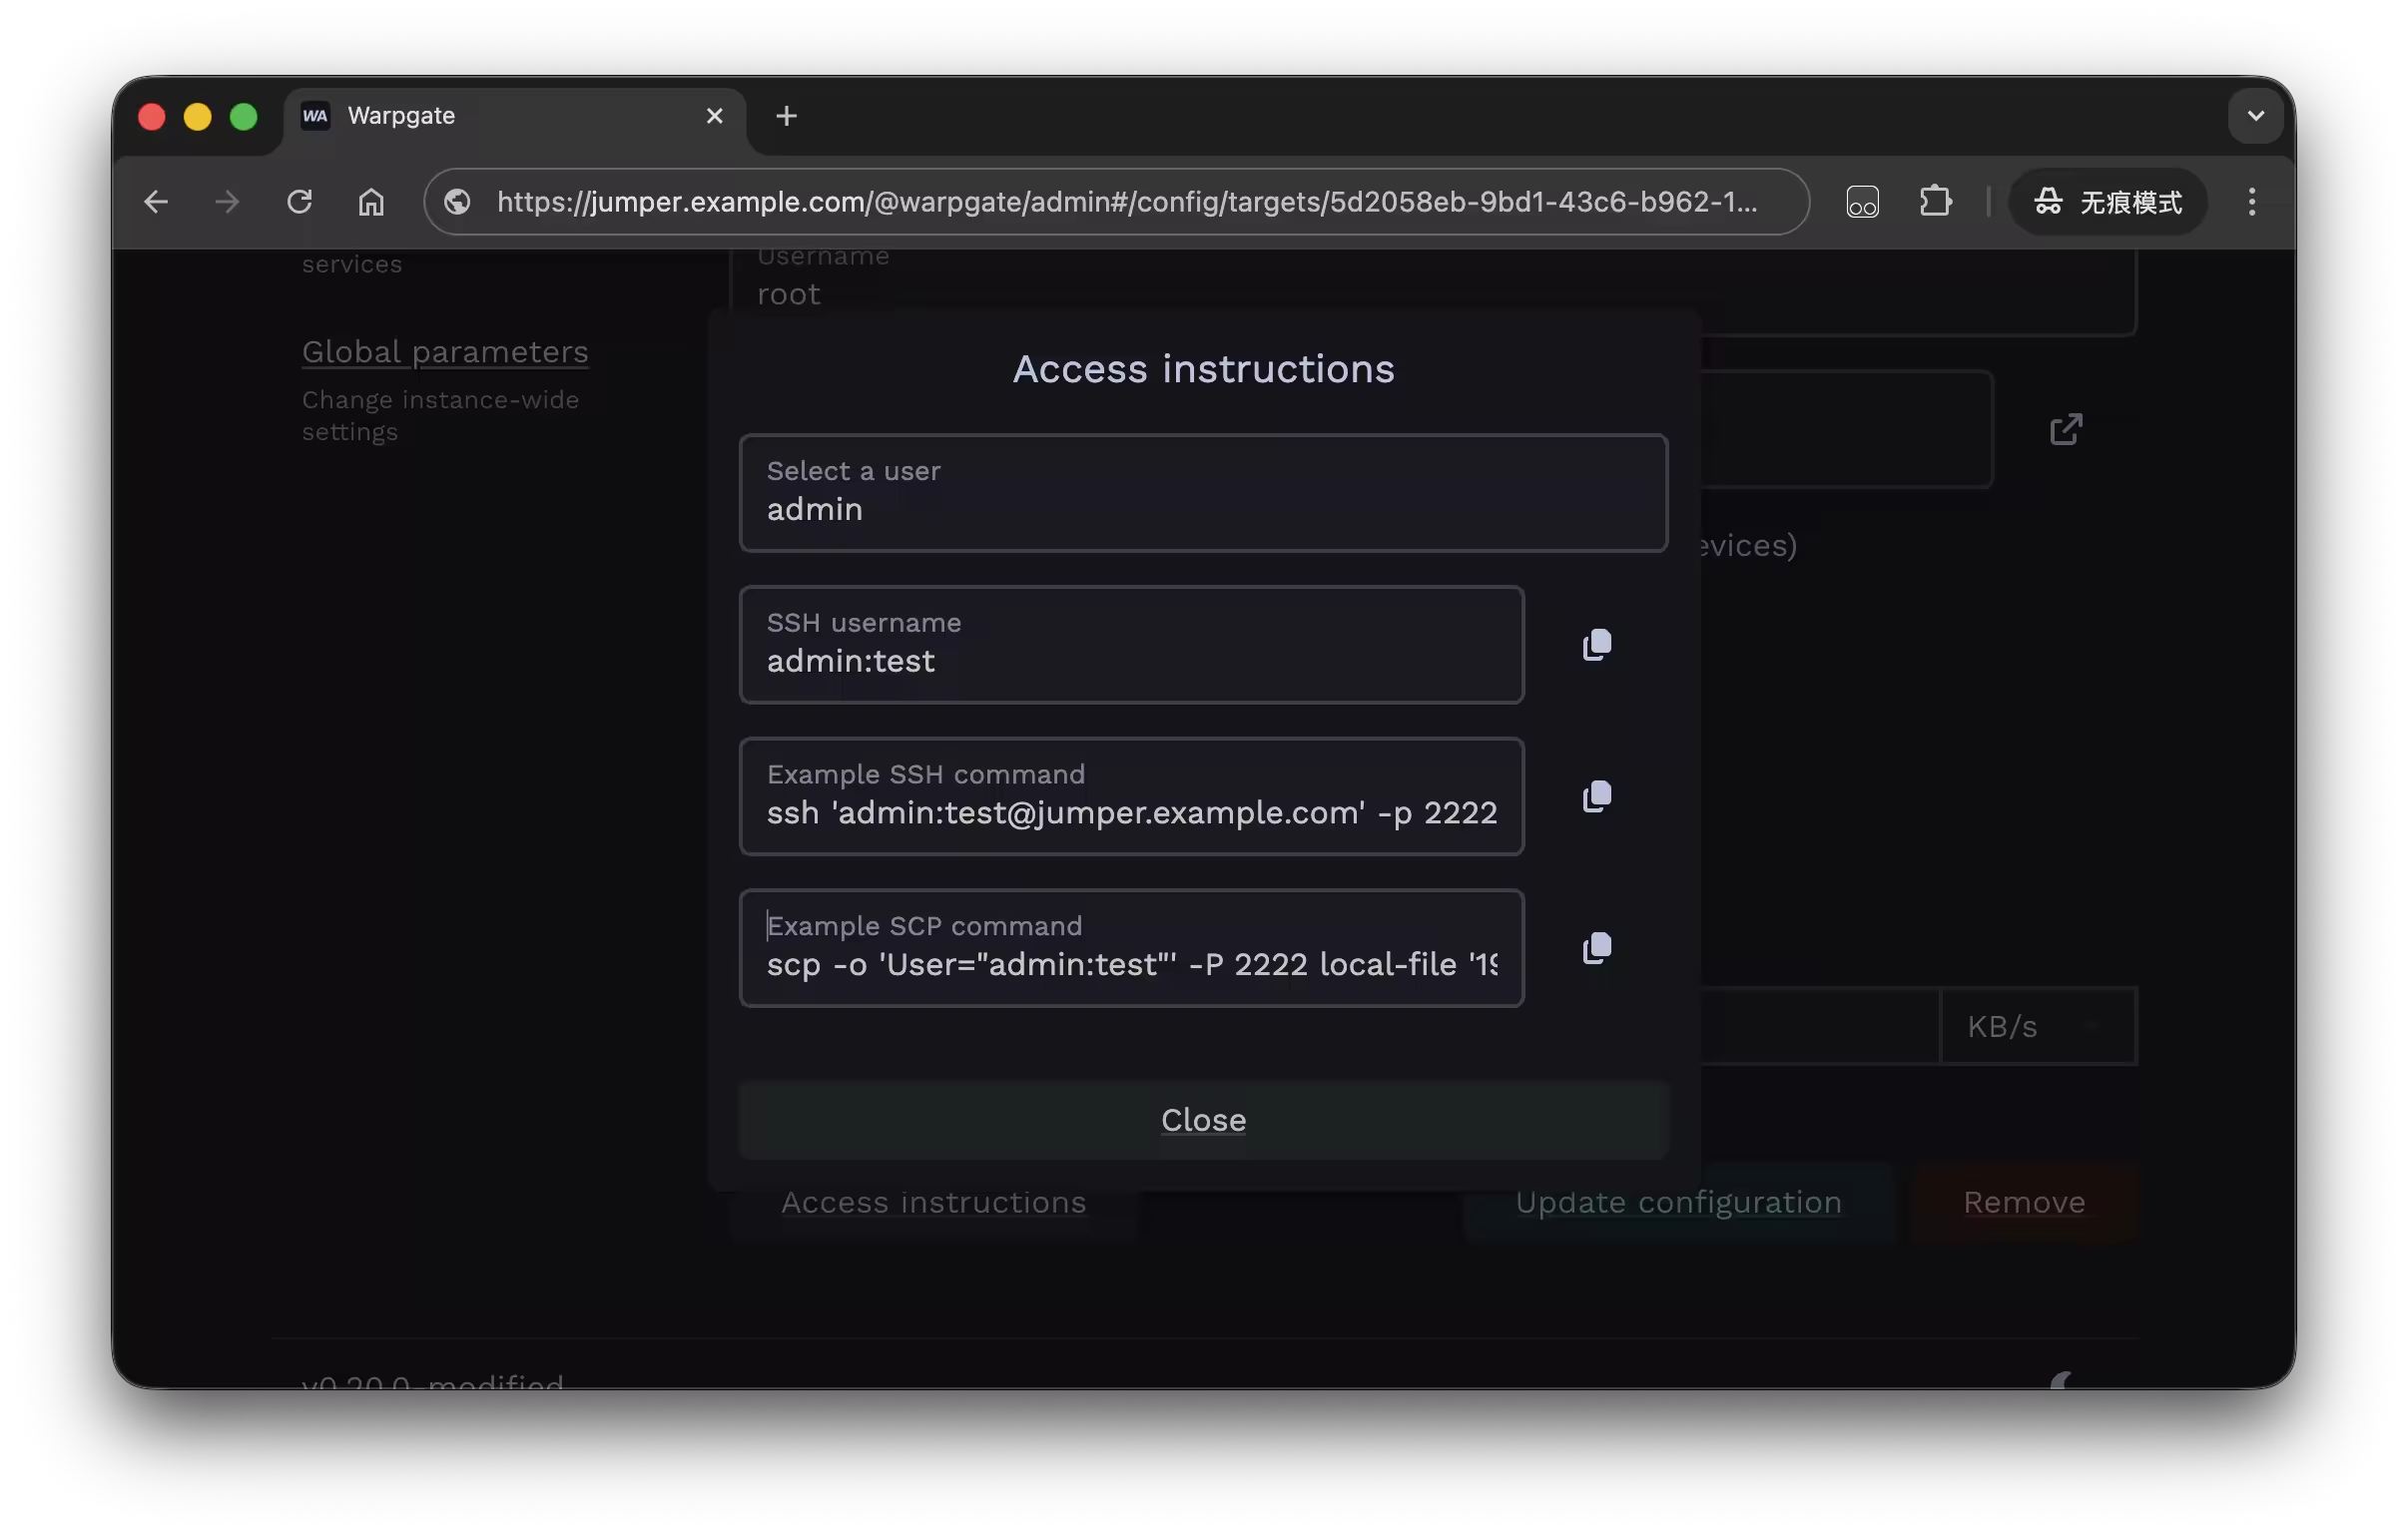
只需要在用户名中指定要登录的宿主机即可,格式是 warpgate用户名:目标机器名称@warpgate地址;输入密码后即可登录到目标机器
ssh 'admin:[email protected]' -p 2222

 Warpgate  Selected target: test
 Warpgate  Host key (ssh-ed25519): xxxx===

 ✓ Warpgate connected
Welcome to Ubuntu 25.04 (GNU/Linux 6.8.12-13-pve x86_64)

 * Documentation:  https://help.ubuntu.com
 * Management:     https://landscape.canonical.com
 * Support:        https://ubuntu.com/pro
Your Ubuntu release is not supported anymore.
For upgrade information, please visit:
http://www.ubuntu.com/releaseendoflife

New release '25.10' available.
Run 'do-release-upgrade' to upgrade to it.

Activate the web console with: systemctl enable --now cockpit.socket

Last login: Sat Jan 31 11:50:26 2026 from 10.0.0.2
添加公钥到 Warpgate
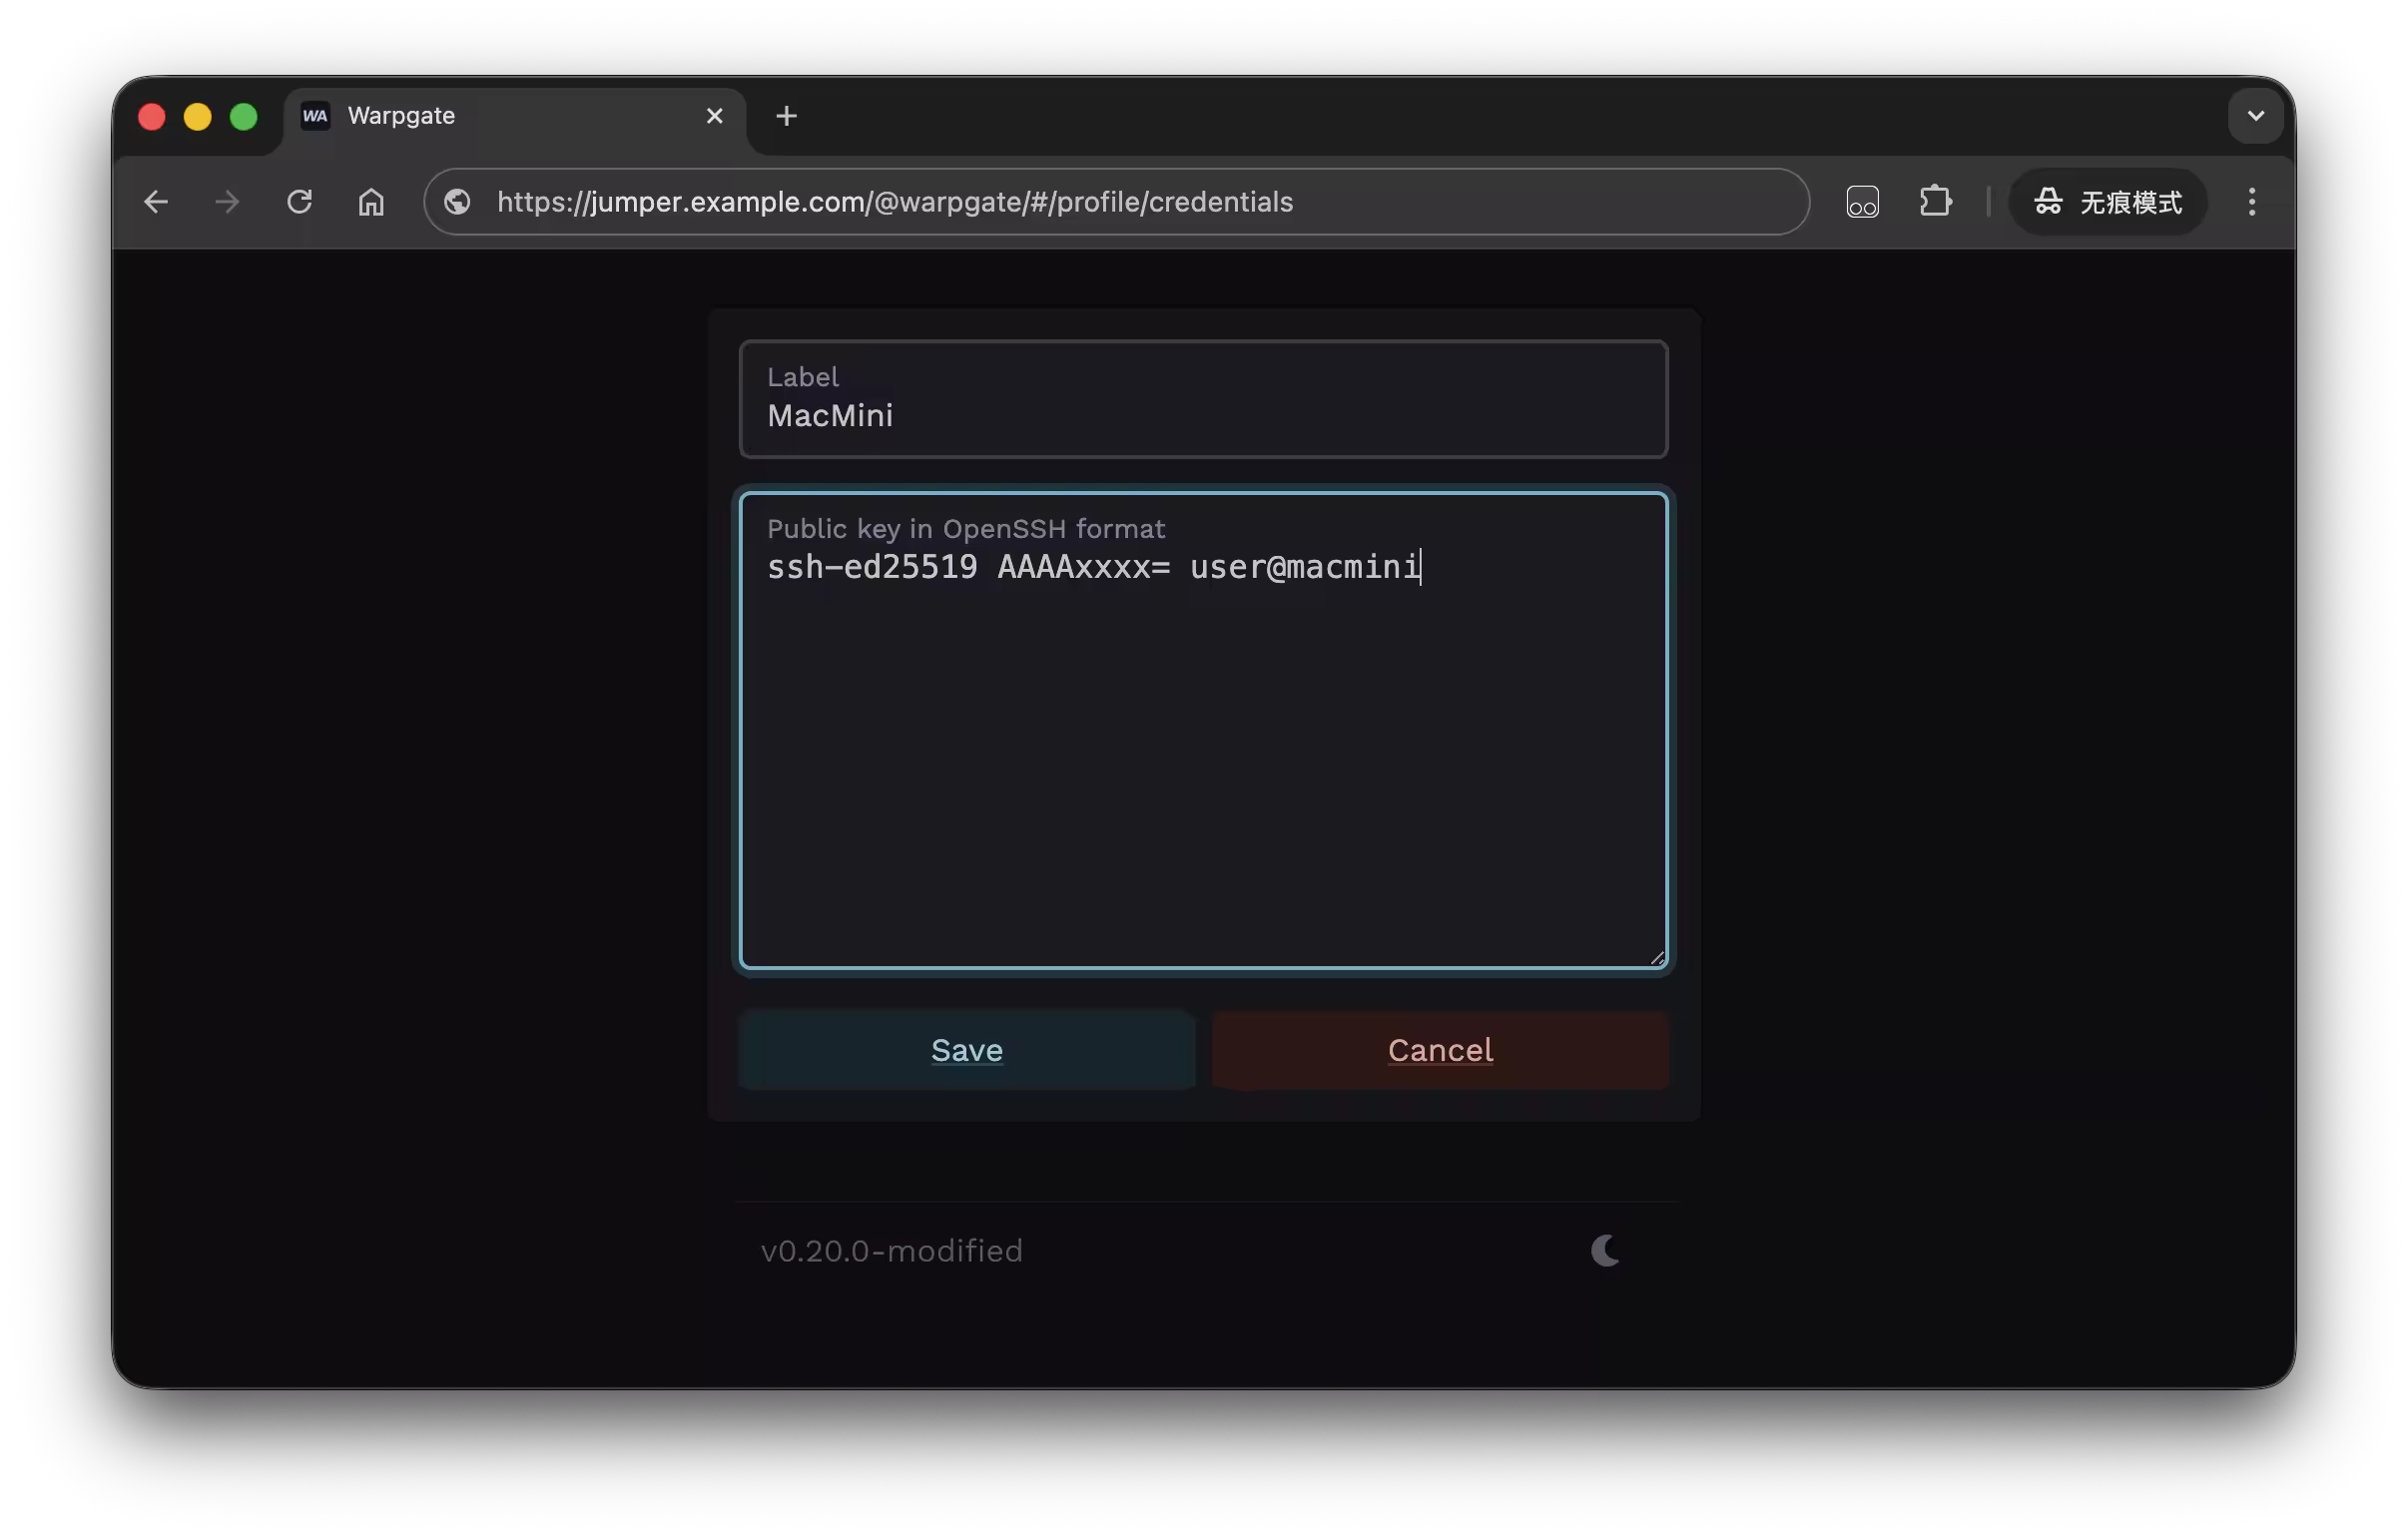
在 admin - Credentials - Public keys 中添加本地的公钥添加到 Warpgate 中,这样就可以免密登录到目标机器
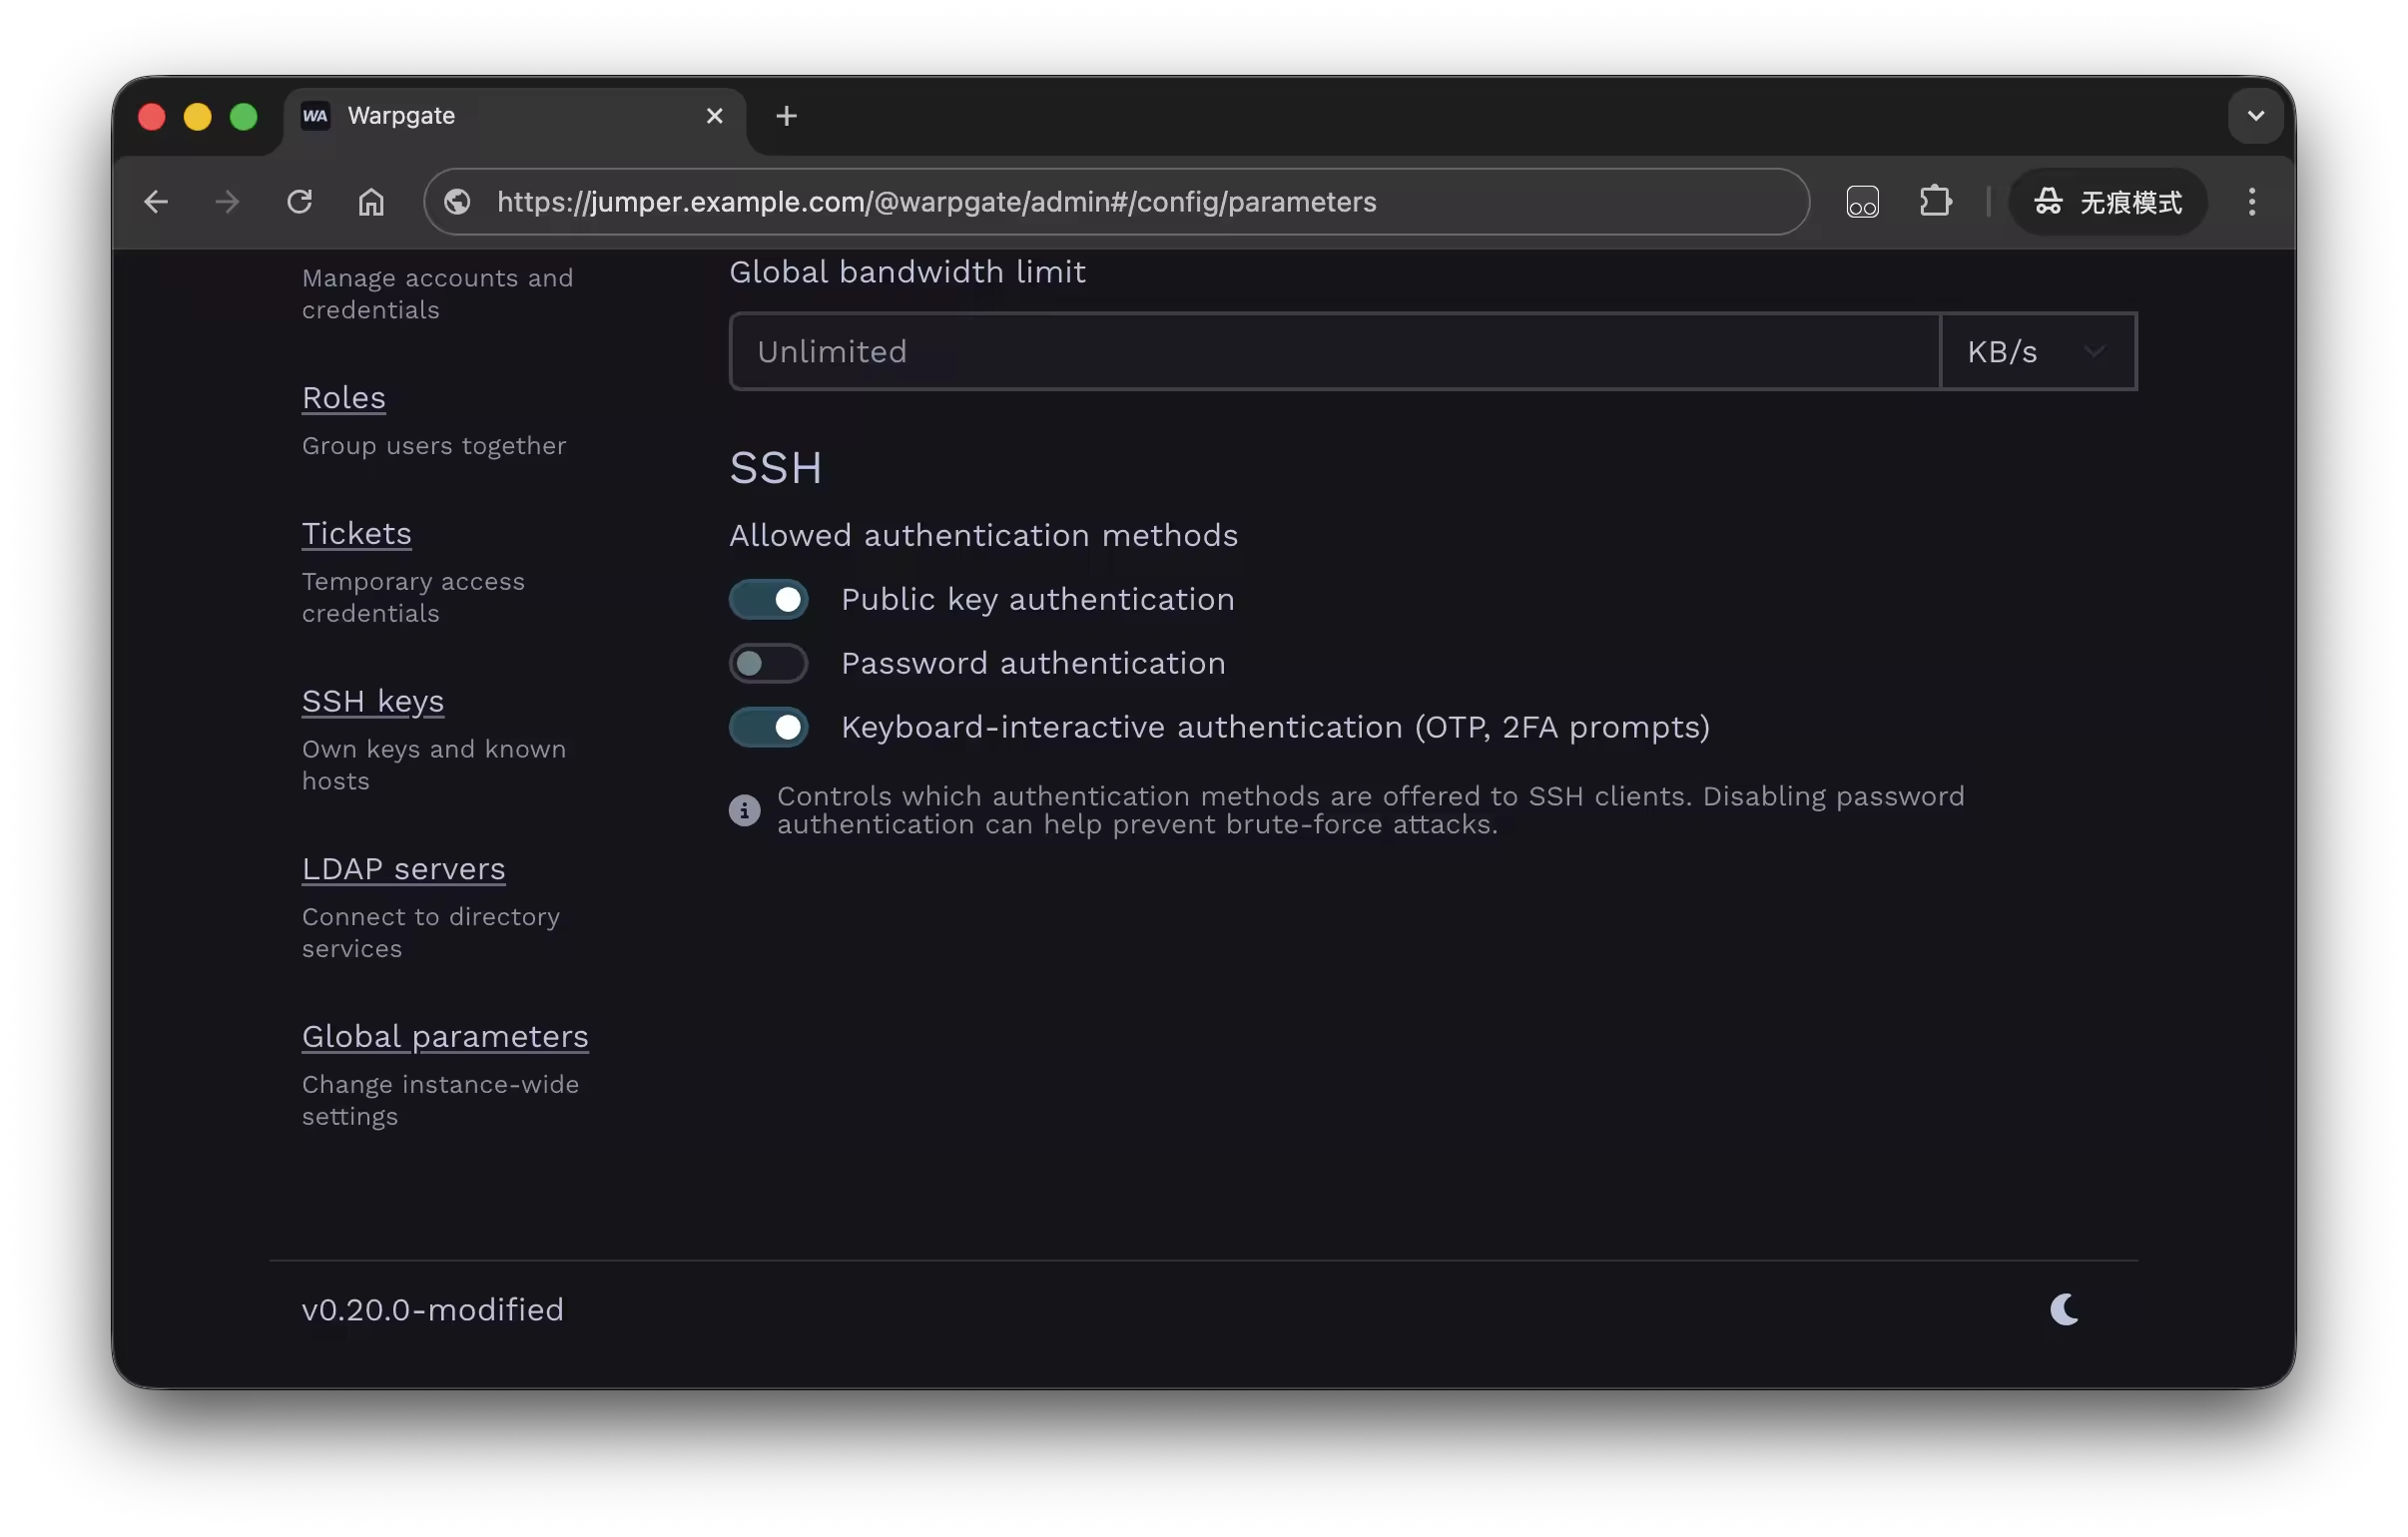
然后在 Config - Global parameters - SSH 中关闭 Password authentication,仅允许使用公钥登录,提升安全性(当前 Warpgate 不支持通过 CA 生成短期证书的方式认证,因此如果需要通过Cloudflare Web端登录还是需要密码)
通过 Cloudflare Tunnel 访问
为了在公司等无法直接访问 HomeLab 的环境下访问,可以通过 Cloudflare Tunnel 将 Warpgate 暴露到公网,并使用 Cloudflare Access 进行访问控制
关于 Cloudflare Tunnel 的安装部署和 Access 配置可以参考 使用 Cloudflare Tunnel 作为反向代理访问内网服务 和 Cloudflare 使用应用程序和策略为 Tunnel 代理的服务添加鉴权
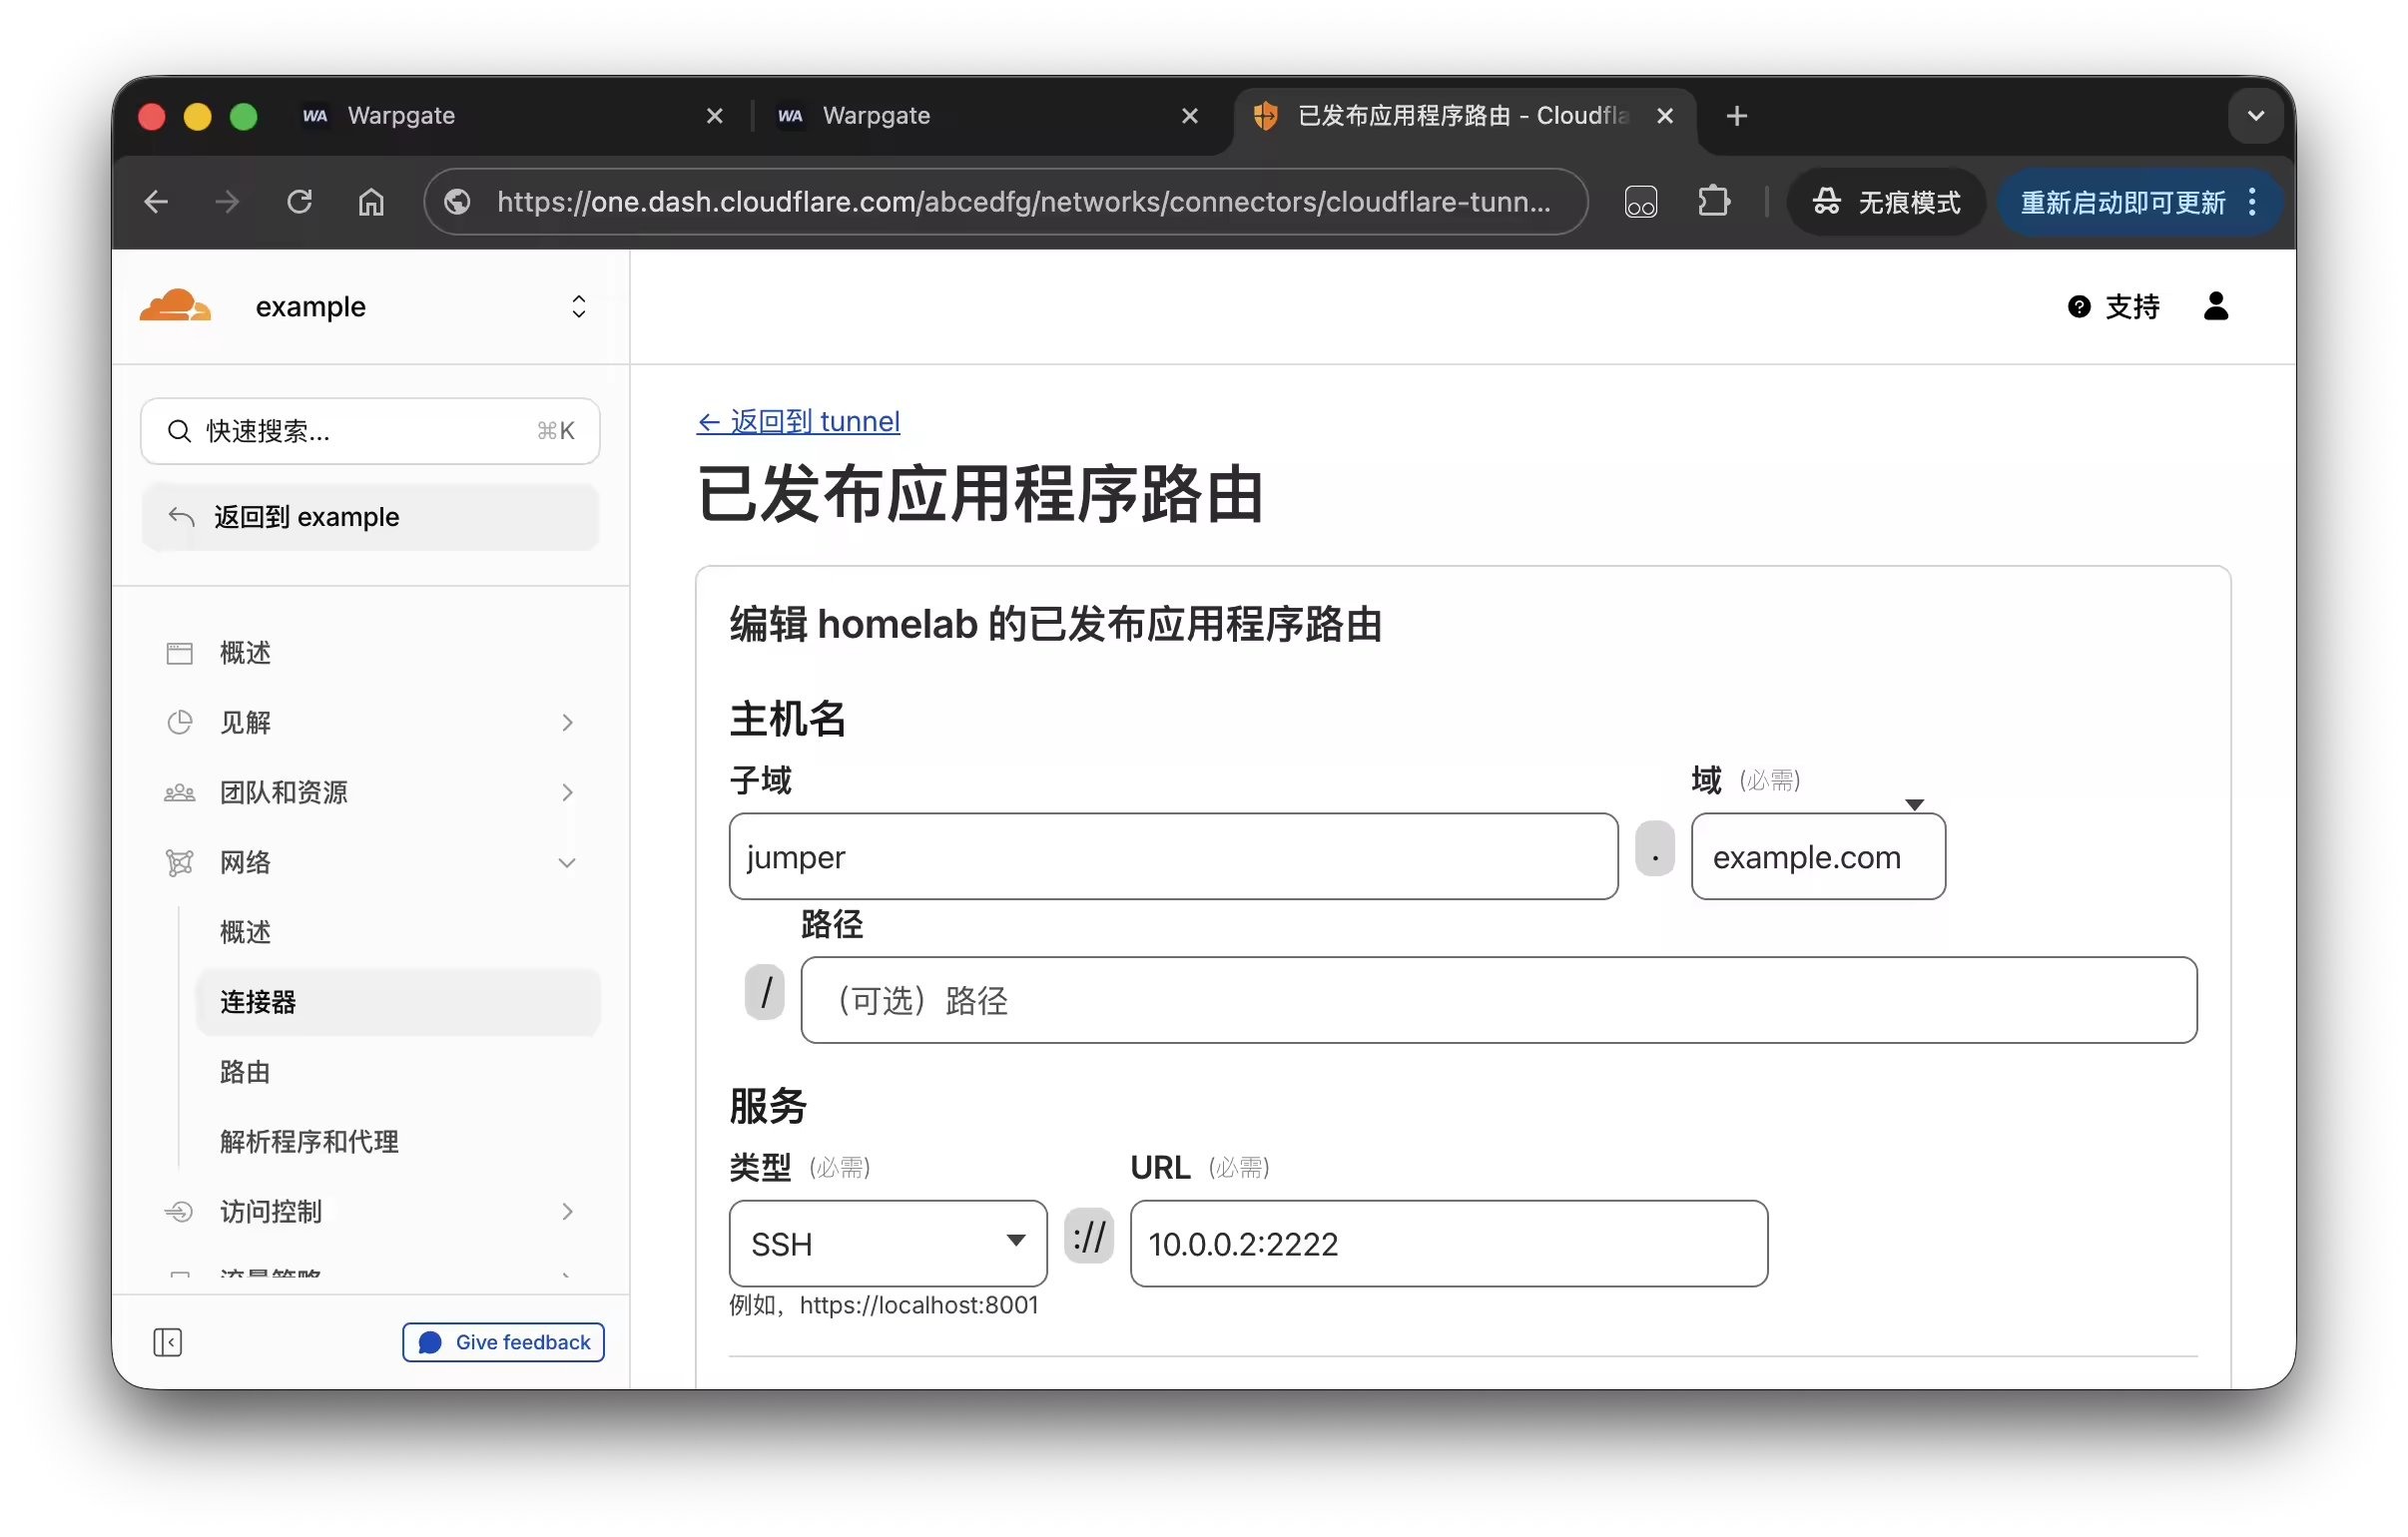
配置完成后即可通过 https://jumper.example.com 访问 Warpgate,登录后即可管理和访问 HomeLab 中的机器